Starting scrapbooking can feel like a mountain of products and rules. You only need a few safe basics: acid-free paper, photo-safe glue, a sturdy album and one simple layout idea.
Scrapbooking sits happily alongside other papercraft hobbies, and it borrows plenty of their tools.
| Item | Value |
|---|---|
| Standard beginner album size | 12 x 12 inch |
| Paper sheet sizes | 12 x 12 inch or 8.5 x 11 inch |
| Paper to buy | Acid-free (pH neutral) and lignin-free |
| Glue requirement | Photo-safe and acid-free |
| Paste the Library of Congress suggests | Wheat-starch paste |
These figures come from The Westport Library’s scrapbooking guide and the Library of Congress album care page. Guidance can change, so check the sources before you rely on them.
What scrapbooking is and why people do it
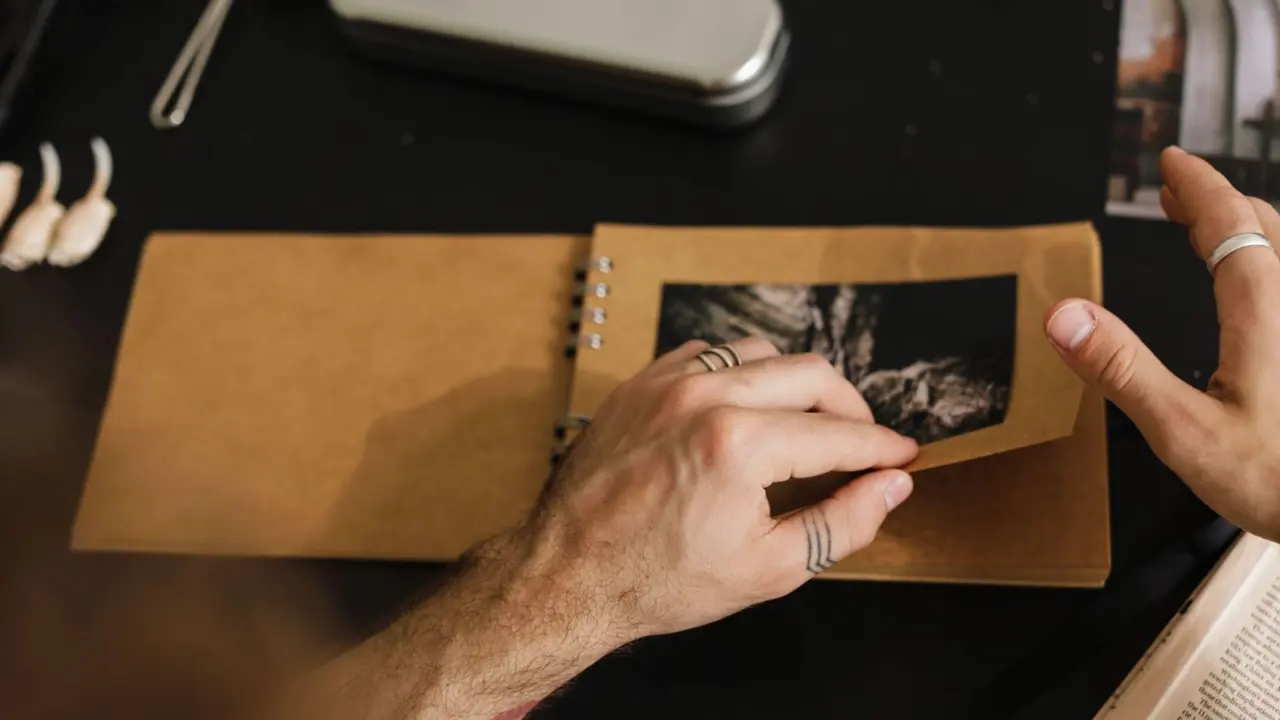
Scrapbooking is the craft of arranging photos, journaling and paper decoration on a page so a memory is kept in one place. A page can be as plain as one photo, one title and a short note.
You do not need artistic talent. Most good pages follow the same pattern: a clear focal photo, a background that supports it, and a few small touches.
Essential supplies for a first page
A short kit is enough. Buying slowly also shows you which tools you really use.
- An album with page protectors.
- Patterned paper and plain cardstock.
- Photo-safe adhesive, such as double-sided tape or a glue stick.
- Scissors and a trimmer or ruler.
- A fine pen for journaling.
- Stickers, die cuts or other small embellishments.
Albums come in many sizes, and the Westport Library guide says the standard size most beginners use is 12 x 12 inch. Paper usually comes in 12 x 12 inch sheets or 8.5 x 11 inch sheets, so a smaller album suits letter-sized paper well.
Choosing safe, archival materials
If you want pages to last, check labels. The Westport guide tells crafters to buy only acid-free (pH neutral) and lignin-free paper, and says the glue must be photo-safe and acid-free.
The Library of Congress gives similar advice for albums meant to last a long time. It recommends acid-free and lignin-free paper materials, polyethylene, polypropylene or polyester film plastics, and wheat-starch paste instead of any other kind.
Those are guidelines for preservation, and a casual page for a school project does not need museum rules. Still, family photos and the only prints of an event deserve the safer choice.
Simple layout ideas that work
Layouts are easier when you pick a structure first. Try one of these.
- Single photo hero: one large photo, a title above or below, and journaling in a small block.
- Grid: several equal photos in rows, ideal for events or a trip day.
- Diagonal: two or three photos placed along a diagonal, with embellishments in the empty corners.
- Pocket page: photos and cards slipped into sleeves with little gluing.
Keep the strongest photo near the middle or on a visual third. Then repeat one or two colours from that photo in the paper and stickers, so the page feels planned.
Adding story, texture and variety
Journaling is what turns a pretty page into a keepsake. Write who was there, where it was, and one detail you would otherwise forget.
For texture, layer paper under photos, add a strip of washi tape, or cut shapes with a punch. If you enjoy folded shapes, origami can give you small paper birds or boxes to tuck on a page.
Rolled paper coils also make charming flowers and titles, and a guide to paper quilling for beginners can help you add them. Keep embellishments flat enough for the album to close.
Building a page step by step
A repeatable routine saves time and cuts the stress of a blank page. Work through these steps in order and you will rarely get stuck.
- Pick the photos. Choose the best one or few shots from the event, and leave the near-duplicates in a folder.
- Choose a colour base. Select a background paper that sits quietly behind the photos, then one or two accent colours pulled from them.
- Dry-fit everything. Arrange photos, title and embellishments without glue, and move them until the page feels balanced.
- Mat the photos. A slim border of cardstock around a print makes it stand out from a busy background.
- Stick down and journal. Fix the largest items first, then the small ones, and let the glue dry before writing your notes.
- Slide it into the album. Let adhesive settle before you close the page protector.
Dry-fitting is the habit that matters most. It is far easier to shift a loose photo than to peel a stuck one.
Page themes to get you started
When you do not know what to make, a theme gives you a first decision. These work for almost any family or friend group.
- A holiday or trip, with maps, tickets and postcards as embellishments.
- A birthday or celebration, using party colours and a short list of who attended.
- A season, such as a day at the beach or a first snowfall.
- A person profile, with favourite foods, sayings and small facts about them.
- An everyday routine, such as school mornings, which becomes precious later.
Ordinary pages often become the most loved ones. Keep ticket stubs, labels and handwritten notes, because small paper keepsakes add real character to a layout.
Common mistakes and how to avoid them
Most beginner frustrations come from the same few habits. Spotting them early keeps the hobby fun.
- Crowding the page. Leave some empty space so the eye can rest on the photo.
- Skipping labels. Check that paper and pens say acid-free and adhesives say both photo-safe and acid-free before you buy a large stock.
- Gluing newspaper clippings or fragile items straight onto a page. Place them in a sleeve or pocket instead.
- Buying every new product. Use up what you have first, and add tools when a specific page calls for them.
- Waiting for perfect pages. A finished simple page beats a perfect page that never leaves the drawer.
Budget wise, put your money into the album, the paper and the adhesive, since those affect how well pages last. Embellishments are the easiest place to save, because scraps from other paper projects work beautifully.
Caring for finished albums
Handling matters as much as materials. The Library of Congress suggests handling albums with clean hands, keeping food and drink away, and supporting the entire leaf when turning pages.
It also advises against forcing a scrapbook to lie open completely flat, and recommends keeping the overall size and weight modest. Heavy, overstuffed pages strain the binding, so pick flat embellishments for albums you will often open.
Frequently asked questions
What size should my first scrapbook be?
Show answer
The Westport Library guide names 12 x 12 inch as the standard size most beginners use. An 8.5 x 11 inch album is a fine alternative if you prefer letter-sized paper.
Do I really need acid-free supplies?
Show answer
For photos you want to keep for years, yes. Both the Westport Library and the Library of Congress recommend acid-free and lignin-free paper materials.
What glue is best for photos?
Show answer
Choose an adhesive labelled photo-safe and acid-free. The Library of Congress prefers wheat-starch paste for long-lasting albums.
How many photos belong on one page?
Show answer
There is no fixed rule. One large photo works well for a big moment, and a grid suits many small snapshots.