Standing in front of a wall of blades, mats and trimmers is confusing. You need only a few paper cutting tools to start: a sharp knife, a self-healing mat, a metal ruler and a trimmer for straight cuts.
| Item | Value |
|---|---|
| Standard copier paper weight | 80-90gsm |
| Typical business card weight | around 300gsm |
| Newspaper weight | 35-55gsm |
| Olfa folding mat thickness (rated for rotary blades, art knives and utility knives) | 2.5mm |
| Olfa double-sided rotary mat thickness (rated for rotary blades) | 1.5mm |
These figures come from a paper supplier’s GSM guide and a cutting mat maker’s page. Products and specifications change, so check the source before you rely on them.
The core paper cutting tools, and what each one does
Most papercrafters end up with a small kit that covers every job. Each tool has a narrow strength, and the trick is matching the tool to the cut rather than buying the biggest set.
- Craft knife: detailed shapes, windows, corners and anything curved or intricate.
- Cutting mat: protects your table and helps reduce blade wear.
- Metal ruler: a straight edge that a blade will not nick the way it nicks plastic.
- Trimmer or guillotine: fast, repeatable straight cuts and trimming sheets to size.
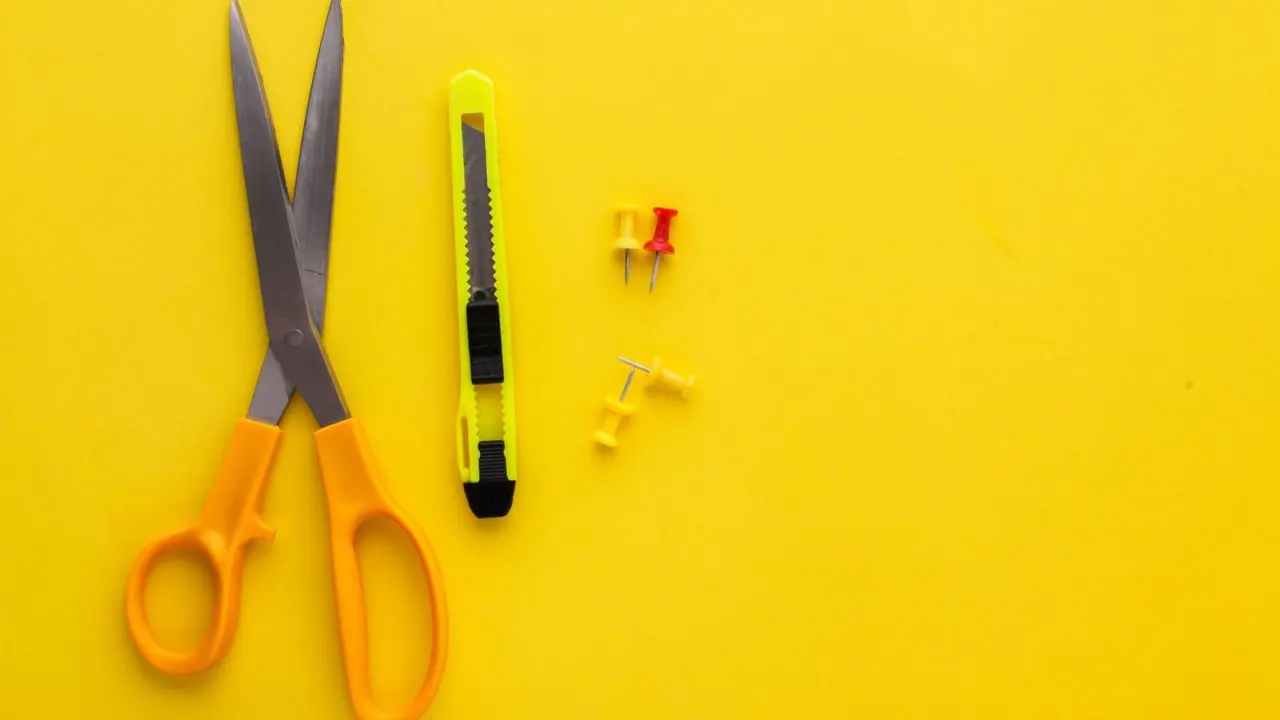
- Scissors: loose cuts, rough shaping and anything where a blade would be overkill.
- Punches and dies: repeat shapes that would take forever by hand.
If you are only making the occasional greeting card, a knife, mat and ruler will carry you a long way. A trimmer is the first upgrade most people feel the benefit of, because it removes the slow, careful ruler work from every straight cut.
Related skills sit around these tools. If you are still deciding where to focus, the wider world of papercraft shows how cutting fits alongside folding, layering and gluing.
Craft knives: precision for shapes and detail
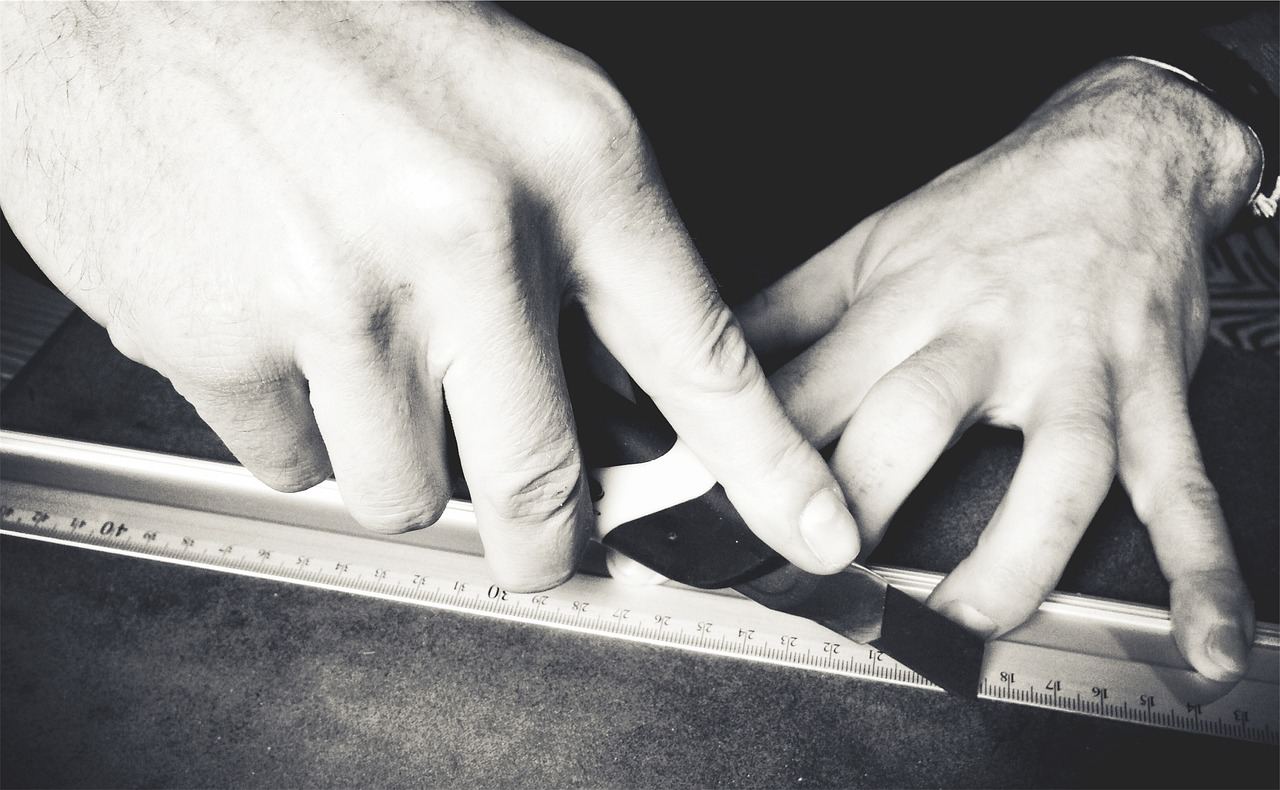
A craft knife is the tool that makes paper cutting feel like drawing. You pull the blade away from your body along a ruler or around a template, and a fresh point follows lines that scissors cannot.
Choosing one comes down to grip, blade type and how the blade locks. Our guide to the craft knife for paper goes through handle styles and blade shapes in more depth, but the basics are simple.
- A slim pen-style handle gives the best control for fine detail and small curves.
- A heavier handle feels steadier for long straight cuts against a ruler.
- A locking blade holder matters more than any other feature, because a blade that shifts mid-cut ruins the paper and risks a slip.
- A swivel head is useful if you cut a lot of curves and lettering.
Keep the blade sharp
A dull blade drags and tears the paper fibres instead of slicing them, which leaves a fuzzy edge. It also needs more pressure, and extra pressure is what makes a knife slip.
Snap or swap the blade as soon as a cut stops feeling clean, particularly when you work with thicker card. Used blades go into a sturdy container, never loose in the bin.
Safe cutting habits
- Cut away from your body and keep your free hand behind the ruler, not in front of the blade.
- Use several light passes rather than one heavy push, especially on thick board.
- Hold the ruler firmly with the fingers well back from the edge.
- Retract or cap the blade every time you set the knife down.
Cutting mats: the quiet workhorse
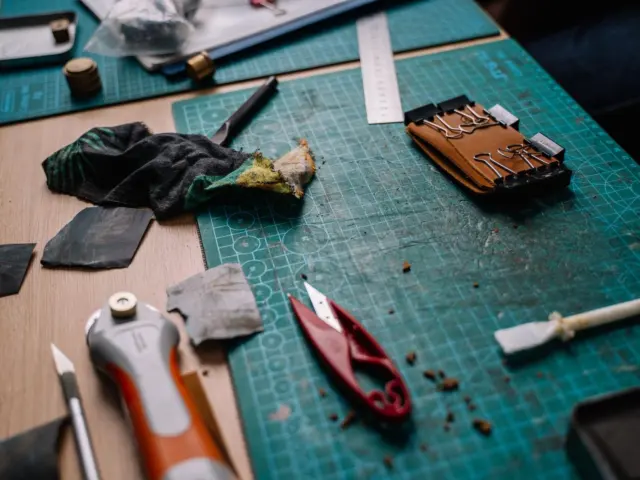
A good mat protects your work surface and gives the blade a surface that grips the paper gently. A self-healing mat is made of a material that closes up small cuts, so the surface stays smooth for longer than plain cardboard or plastic would.
Our deeper look at the self healing cutting mat covers sizing, grid markings and care. Mats are not all built for the same blade, though, and that is worth checking before you buy.
Olfa, a mat and blade maker, lists its double-sided rotary mat at 1.5mm thickness for use with rotary blades. The same page lists a folding mat at 2.5mm for use with rotary blades, art knives and fixed-blade utility knives. In plain terms, a mat sold for rotary cutters is not automatically the best partner for a hand-held knife, so read the intended use on the label.
Picking a size and keeping the mat flat
- Choose a size that fits your desk and your storage, not the biggest mat in the shop.
- A printed grid helps you square up sheets and measure quickly.
- Store the mat flat and away from radiators or sunlight, because heat warps it.
- Rotate it now and then so wear spreads across the whole surface.
A mat that curls or develops deep grooves makes cuts wander. Replace it when the surface stops feeling smooth under the blade.
Paper trimmers, guillotines and rotary cutters
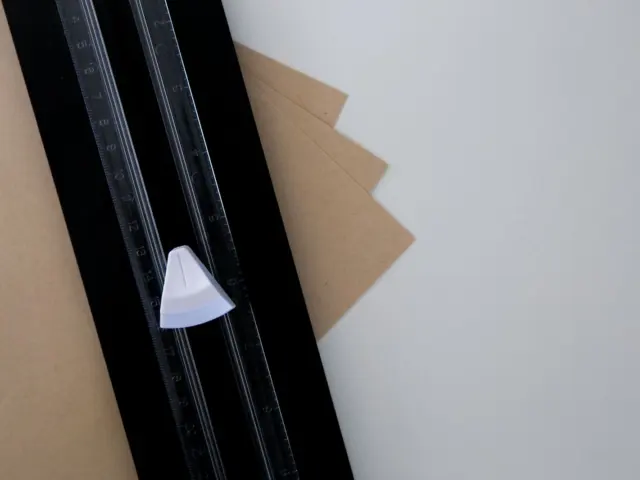
For long straight lines, a trimmer is faster and more accurate than a knife and ruler. You slide a blade along a rail, and the paper sits against a fixed guide so every cut lands at the same distance.
There are three common styles, and each suits a different habit. Our page on the paper trimmer compares them in detail.
- Sliding trimmer: a blade carriage glides along a rail; good for card making and photo trimming.
- Guillotine (lever arm): a hinged blade chops down through a stack; quick for big batches.
- Rotary trimmer: a round blade rolls along a track; gentle on thin paper and handy for scoring on some models.
Whatever the style, check that the guide is square to the blade before you trust it. Cut a test strip, flip it, and compare the ends against a known right angle.
When a trimmer is the wrong tool
Trimmers are poor at curves, tight inner corners and cutting out the middle of a sheet. Very thick board can also dull the blade, so keep heavy board for a knife and a ruler.
Scissors, punches and other helpers
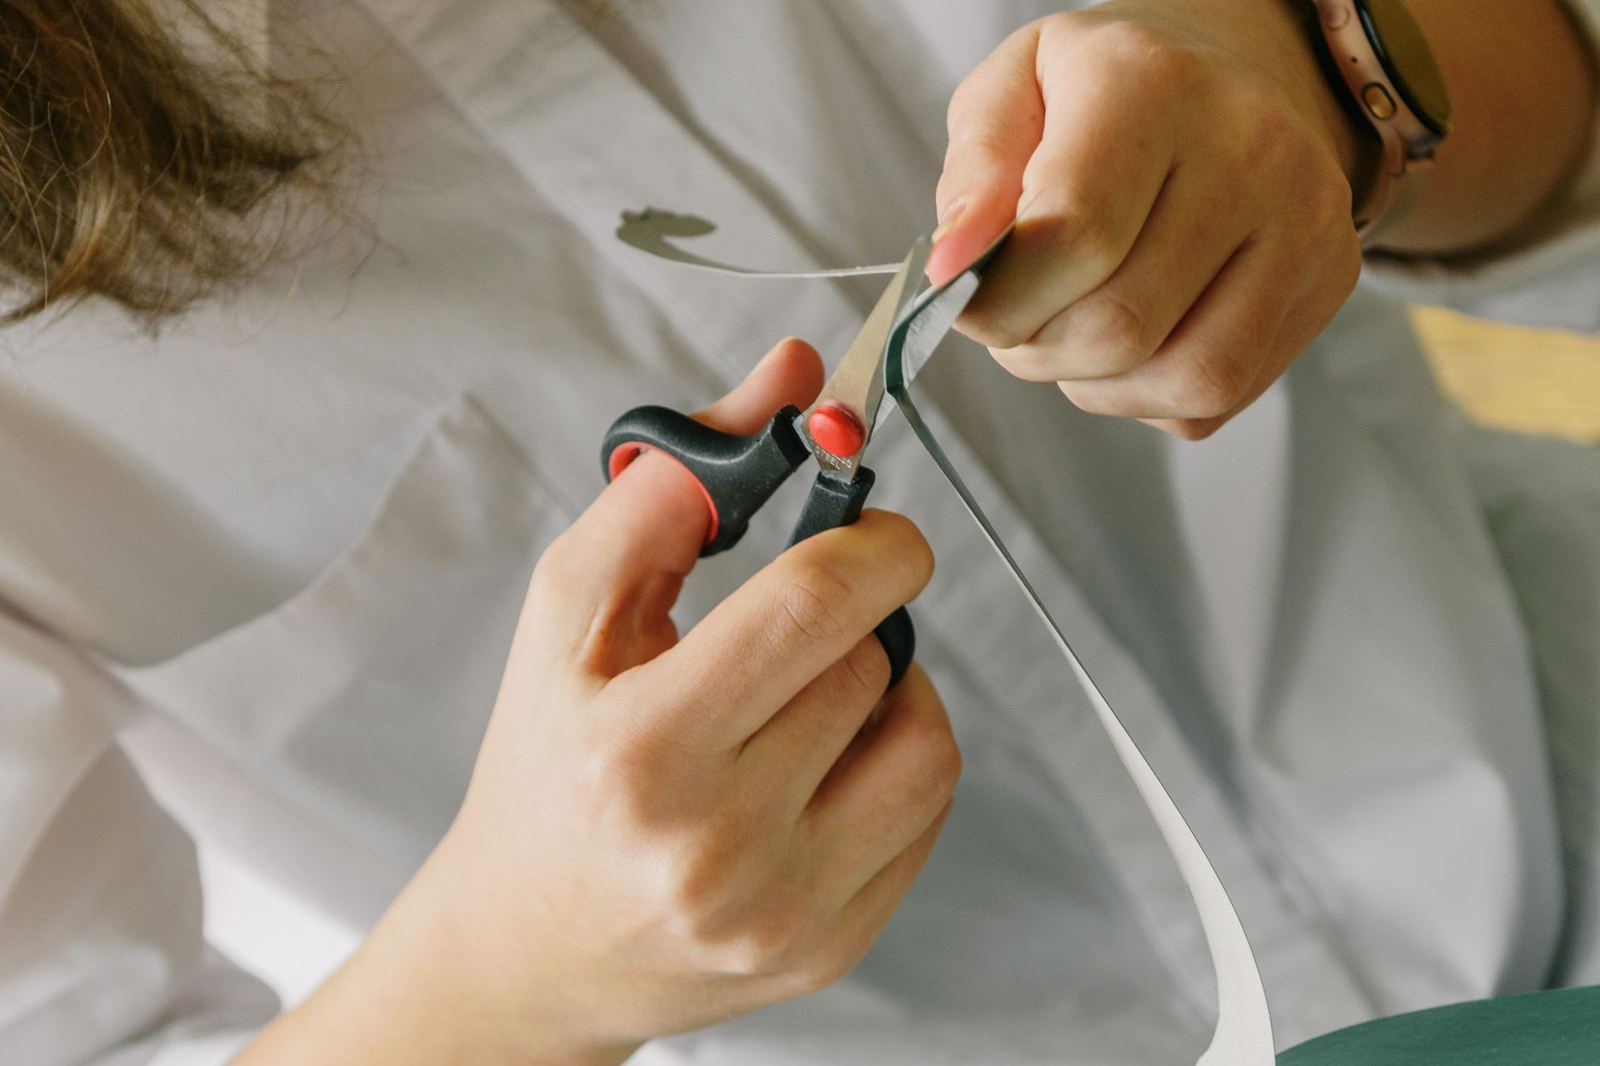
Scissors still earn their place on the desk. Small, sharp, fine-tipped scissors are the best way to cut around a stamped image, and a longer pair is better for trimming large sheets down to rough size.
Shape punches take a step further by cutting the same motif repeatedly with a single squeeze. Our guide to paper punches explains the types, from small hand punches to border punches, and how to keep their cutting edges working well.
A few small accessories make cutting easier and cleaner:
- A metal ruler with a cork or non-slip backing that stays put under pressure.
- A bone folder is not a cutter, yet scoring and creasing before you fold gives crisp edges that cutting alone cannot, as the page on bone folder uses shows.
- Low-tack tape to hold a template or small piece while you cut.
- A pencil and an eraser for marking lines you can wipe away.
Matching your tools to the paper
The paper you cut decides how hard each tool has to work. Weight is measured in grams per square metre, or gsm, and a heavier number generally means a thicker, stiffer sheet.
According to a paper supplier’s guide, standard copier paper is usually 80-90gsm, newspaper is usually 35-55gsm and business cards are around 300gsm. The same guide warns that a 350gsm cardstock from one brand will not necessarily match another brand’s 350gsm cardstock in thickness. Treat gsm as a rough guide and test a scrap if the cut matters.
Our cardstock weight guide explains how those numbers translate into choices for cards, boxes and layered projects. If you are still working out which sheets to buy, the overview of types of craft paper helps.
A simple pairing guide
- Thin paper: a fresh blade and a light touch; scissors or a rotary trimmer work well.
- Medium card: a sliding trimmer for straight edges, a knife for shapes.
- Thick card or board: a sturdy knife, a metal ruler and several shallow passes, rather than forcing a trimmer.
- Textured or handmade paper: a very sharp blade, because rough fibres snag a dull one.
Building a kit and cutting well
You do not need everything at once. Start with the tools that match what you make most, and add the rest as a real need appears.
- Begin with a knife, a mat and a metal ruler.
- Add a trimmer once you are cutting many straight edges, which is common in card making.
- Add punches or dies when you find yourself cutting the same shape again and again.
- Keep spare blades and replace them early.
Good technique matters as much as the tools. Mark your line lightly, cut on a clean mat and let the blade do the work with steady, even pressure.
Adhesive is the next step after cutting, since messy glue can spoil a crisp edge. The roundup of the best glue for paper crafts pairs well with a tidy cutting setup.
Care and storage
- Wipe blades and rails with a dry cloth to remove paper dust and sticky residue.
- Keep blades covered and stored out of reach of children.
- Store the trimmer closed, with the blade guard in place.
- Lay mats flat and never leave them in a hot car.
Choosing by project: cards, boxes, scrapbooks and paper art
The same tools behave differently depending on what you are making. Thinking about the project first saves money, because you buy for the cuts you actually make.
Greeting cards
Card makers cut a lot of straight edges: card bases, layered panels and mats for stamped images. A sliding trimmer and a pair of small scissors do most of the work, with a knife for the occasional window or shaped aperture.
Consistency matters here, since layered panels look best when each border is the same width. A trimmer with a measuring guide makes that almost automatic.
Boxes, envelopes and three-dimensional projects
Boxes and gift bags need accurate straight cuts and clean scored folds. Pair a knife and metal ruler with a scoring tool, then fold along the score to reduce the risk of cracking.
Thicker card is common in this kind of work, so plan for a stronger blade and a fresh edge each session. Several shallow passes give cleaner corners than one forceful cut.
Scrapbooking and journaling
Scrapbookers trim photos, journaling strips and large background sheets. A trimmer with a long rail handles big sheets, while corner rounders and punches add finishing touches without any measuring.
Cut paper art and intricate designs
Fine paper cutting is the territory of the pen-style knife. Use a sharp pointed blade, a well-lit desk and a mat that is still smooth, and swap the blade often, because delicate lines show every flaw.
Common mistakes and how to avoid them
Most poor cuts come from a handful of repeat errors rather than from the tool itself. Fixing these usually improves results more than buying something new.
- Using a worn blade: it tears paper and invites slips. Replace blades sooner than feels necessary.
- Pressing too hard: heavy pressure makes lines wander. Let several light passes do the work.
- Cutting on the wrong surface: use a cutting mat approved for your blade to protect the worktop and support clean cuts.
- Using a plastic or wooden ruler: the blade nicks it and the nicks steer later cuts off line.
- Skipping a test cut: a quick trial on scrap shows whether your trimmer is square and your blade is sharp.
- Cutting towards your hand: turn the paper instead of reaching across it.
Lighting also helps more than people expect. A bright, even lamp placed so it does not throw your hand’s shadow over the cut line makes accuracy much easier and tiredness much less likely.
Setting up a comfortable cutting space
Where you cut affects how well you cut. A stable, well-lit surface at a comfortable height lets you keep your wrist straight and your pressure even.
Stand or sit so the line you are cutting runs away from your body, with your forearm moving rather than only your fingers. If you cut for long sessions, take short breaks, because tired hands slip.
- Clear the desk of loose paper so offcuts do not slide under the ruler.
- Keep a small tray for tiny scraps and a separate, closed, puncture-resistant container for used blades.
- Tape a rough template to the mat edge so you can reuse a standard size without measuring again.
- Keep a soft brush nearby to sweep paper dust off the mat and trimmer rail.
Left-handed crafters should check that a trimmer, ruler and scissors suit them, because many are designed with right-handed users in mind. A ruler with markings running both ways solves much of the problem, and left-handed scissors are widely available.
Finally, keep your cutting and gluing areas separate if you can. Adhesive on a mat or ruler transfers to paper and leaves marks that no amount of careful trimming will hide.
Buying smart without overspending
A big set looks like good value, but many kits include tools that sit unused. Buy the tools you will use weekly, then look at quality for those.
- Spend more on the knife handle, the ruler and the trimmer, because you touch them every session.
- Spend less on blades you will replace anyway, but buy them in a pack so you never run out.
- Read the stated use for any mat, as covered above, and match it to your knife or cutter.
- Look for replaceable parts, such as spare trimmer blades and cutting strips, which extend the life of the tool.
- Try tools in person if you can, since grip and weight are personal.
Prices and models change often, so compare a few reviews and the maker’s own description before you commit. An independent guide like this one can shortlist the types, but only the product page shows what is in the box today.
Frequently asked questions
What paper cutting tools do I need as a beginner?
Show answer
A craft knife, a self-healing mat and a metal ruler cover most jobs. Add a trimmer when you cut many straight edges, and scissors for loose shapes.
Can I use any mat with a craft knife?
Show answer
Not always. Olfa’s page lists its double-sided rotary mat as made for rotary blades, while its thicker folding mat is listed for rotary blades, art knives and utility knives, so check the intended use before buying.
Is a trimmer better than a knife and ruler?
Show answer
For repeated straight cuts, yes, because it is quicker and more consistent. For curves, windows and detail, the knife is still the right tool.
How often should I change a craft knife blade?
Show answer
Change it when cuts start to drag, tear or leave fuzzy edges. Thicker card and textured paper dull a blade faster than thin, smooth paper.
Does gsm tell me exactly how thick paper is?
Show answer
No. A supplier guide notes that the same gsm from two brands can differ in thickness, so use it as a rough guide and test a scrap.