Not sure where to start with papercraft? You only need paper, a sharp blade, glue and a little patience. This guide maps every major technique so you can pick one and begin.
| Item | Value |
|---|---|
| Origami information is virtually nonexistent before | The 15th century |
| Cai Lun’s sheets of paper | About the year 105 ce |
| Poem mentioning butterfly origami | 1680 |
| Early folding book, Sembazuru orikata | 1797 |
| Cardstock for watercolor or mixed media | 300 GSM is a common recommendation |
| 110 lb cardstock | 270-308 GSM |
Dates come from Britannica’s history of origami and paper weights from Altenew’s cardstock guide. Figures can change or be revised, so check the source before you rely on them.
What papercraft actually covers
Papercraft is the umbrella name for any hobby that turns paper into something new. That includes folding, cutting, rolling, layering, sculpting and pasting. Some of it needs almost no equipment, and some rewards a small investment in tools.
The techniques fall into a few families. Knowing which family a project belongs to tells you what you will need and how messy the table will get.
- Folding: origami and its relatives shape a sheet using creases alone.
- Cutting: kirigami, silhouettes, die-cut layers and paper lace remove material to form a design.
- Rolling: quilling coils thin strips into shapes and arranges them as pictures.
- Layering and assembling: card making and scrapbooking combine papers, stamps and embellishments.
- Sculpting: paper flowers and paper mache build three-dimensional forms.
Most makers drift between families over time. A card maker might add a quilled flower, and a quiller might fold an origami box to hold the finished piece.
A short history of working with paper
Paper itself began in China. A Chinese court official, Cai Lun, is traditionally credited with inventing it, although contemporary research suggests paper was invented earlier, according to Britannica. The same page says Cai is known to have introduced the concept of sheets of paper about the year 105 ce.
Folding history is harder to pin down. Britannica notes that writing a comprehensive history of paper folding is almost impossible, since information about the art form before the 15th century is virtually nonexistent.
Later records are clearer. In 1680 a short poem by Ihara Saikaku referenced butterfly origami, which shows paper folding was well established in Japanese culture by then. One of the earliest known instruction books, Akisato Rito’s Sembazuru orikata from 1797, showed how to fold linked cranes from a single square.
The lesson for hobbyists is that these crafts are old, adaptable and shaped by many cultures. You are joining a long line of people who found a lot to do with a flat sheet.
Choosing paper: weight, grain and texture
The single most useful skill in papercraft is matching paper to project. Thin paper folds crisply and coils tightly, while thick stock holds a shape and survives glue. Using the wrong one is the usual reason a first attempt looks sloppy.
Weight is usually given in GSM, or grams per square metre. The rule of thumb in Altenew’s guide is that higher GSM means greater weight per square metre and usually, but not always, thicker cardstock.
Pound ratings add confusion because the same number can mean different things for different paper types. The guide gives an example: a 110 lb cardstock has a GSM between 270 and 308. It also advises using at least 300 GSM for watercolor or mixed media work, so check the GSM figure before buying. This is a recommendation, not a universal minimum; choose paper designed for your medium.
Here is a practical way to match common papers to jobs:
- Lightweight printer or origami paper: folding, paper chains, simple cut-outs and kids’ projects.
- Light cardstock: layering on scrapbook pages and cutting shapes that need a little body.
- Medium to heavy cardstock: card bases, stamping and anything that must stand upright.
- Heavy mixed media paper: watercolor backgrounds and wet techniques.
- Crepe paper: flowers, because it stretches and shapes like fabric.
- Newspaper and kraft strips: paper mache, where cost matters more than finish.
Grain matters too. Paper folds more cleanly along its grain than across it, so fold a test sheet both ways before committing to a good sheet.
Essential tools and a starter kit
You can start with scissors and a ruler, but a few inexpensive tools make results cleaner and safer. A craft knife and a self-healing mat are the first upgrade worth making. If you want to compare blades, punches and cutting machines, our guide to paper cutting tools explains what each one does best.
A sensible starter kit has the following pieces:
- A metal ruler that will not get nicked by the blade.
- A craft knife with spare blades, because a dull blade tears paper.
- A self-healing cutting mat to protect the table and the blade.
- A bone folder or the back of a spoon for crisp creases.
- Liquid glue, a glue stick and double-sided tape for different jobs.
- Tweezers for placing small pieces precisely.
Always cut away from your body, keep your free hand behind the blade, and replace blades as soon as they drag. Cut slowly with several light passes rather than one hard press.
Adhesives at a glance
Glue choice changes the finish. A glue stick is quick for flat layers but can wrinkle thin paper, while liquid glue gives a stronger bond and needs a light touch. Double-sided tape leaves no moisture and works well on cards, and foam tape adds shadow and depth.
Core techniques and where to learn each
Each craft below has its own learning curve. Start with the one that matches the tools you already have, and treat the first few attempts as practice rather than finished work.
Folding: origami
Folding needs only a square sheet and a flat surface. The craft rewards accuracy, since a fold that is slightly off shows up several steps later. Our guide to origami covers basic folds, common models and how to read diagrams.
Start with simple bases such as the square and the triangle fold. Once those feel natural, move on to a crane, a box and a simple flower.
Cutting: kirigami
Kirigami adds cuts to folded paper, so a few snips reveal a symmetrical pattern when you open it. If you like the idea of snowflakes, pop-up cards and cut-out scenes, read about kirigami for patterns and tips.
Rolling: quilling
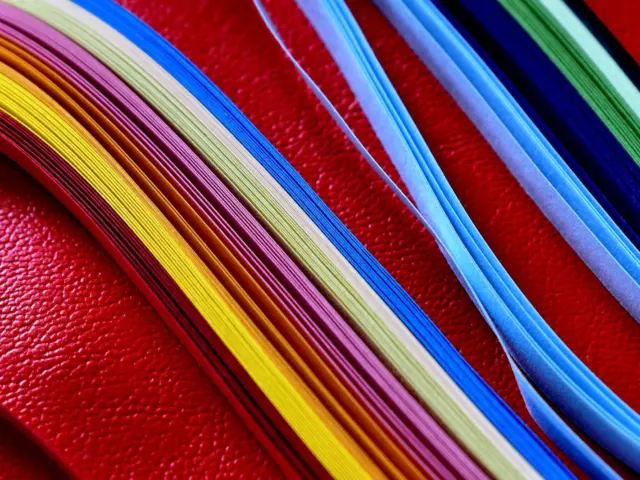
Quilling uses narrow paper strips that you wind into coils, pinch into shapes and glue onto a surface. A slotted tool makes winding easier, although a toothpick works at first. The step-by-step guide to paper quilling for beginners shows the basic shapes and how to combine them.
Sculpting: paper flowers and paper mache
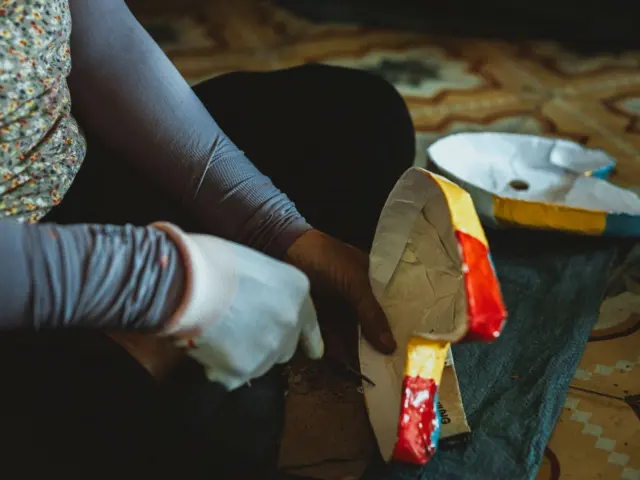
Flowers and sculpture turn flat paper into volume. Crepe paper petals can be stretched, curled and wired into lifelike blooms, and you can see the method in how to make paper flowers. Paper mache works differently: strips of paper and paste are layered over a form, and our guide to paper mache for beginners explains the paste, the layers and the drying.

Papercraft for memories and gifts
Many people come to papercraft because they want to make something for someone. Handmade cards and albums feel personal in a way shop-bought items rarely do.
For cards, the basics are a folded base, a layered front and a message. The full process, from choosing a base to adding embellishments, is in our guide to card making.
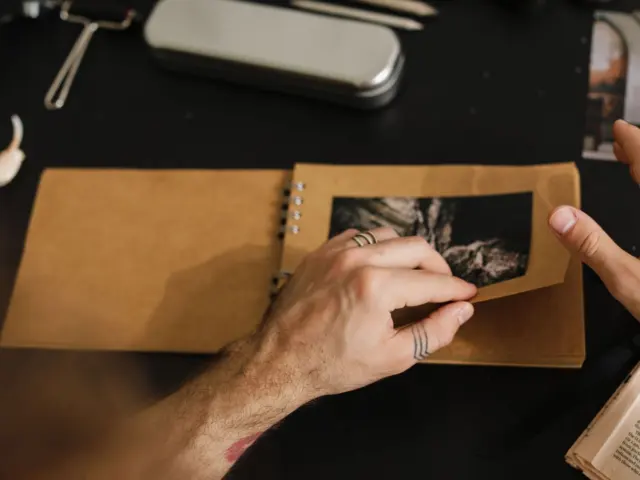
For photos and keepsakes, pages combine pictures, journaling and decorative paper. If you have boxes of prints waiting for a home, scrapbooking is the natural next step, and a lightweight cardstock is a good fit for layering.
Gift wrapping, tags, boxes and bunting also count as papercraft. They are quick wins that use scraps from larger projects.
How to start without wasting money
The most common beginner mistake is buying a large set of supplies for a craft you have not tried. Test the waters first with what you already own.
Follow this order to keep spending low and progress steady:
- Pick one technique and make three simple projects with printer paper.
- Note what frustrated you, whether it was cutting, folding or gluing.
- Buy one tool that fixes that problem, and nothing else.
- Upgrade the paper only when the technique feels comfortable.
- Add a second technique once the first one is relaxing rather than stressful.
If you want a gentle on-ramp, our roundup of paper crafts for beginners lists projects that need only basic supplies. Saving offcuts in a labelled box also pays off, since small pieces become embellishments, quilling strips and tags.
Working with children
Children enjoy tearing, folding, gluing and decorating, and many of these skills develop fine motor control. Choose blunt scissors, washable glue and large pieces of paper. You will find age-friendly ideas in paper crafts for kids.
Design basics: colour, pattern and balance
Good papercraft is rarely about difficult technique. It is usually about a few sound design choices made calmly, such as colour, contrast and spacing. These ideas apply whether you are folding, cutting or layering.
Start with a limited palette. A small set of colours plus a neutral such as white, cream or kraft will look intentional, while many competing shades tend to look busy. If you are unsure, pick one colour and choose lighter and darker tones of it.
Pattern needs the same restraint. A patterned sheet works best next to a plain one, so the eye has somewhere to rest. When you layer papers, let each layer show a thin border of the one beneath it.
Use this short checklist before you glue anything down:
- Focal point: decide what the viewer should notice first and give it the most contrast.
- Spacing: leave breathing room around the main element rather than filling every gap.
- Odd groupings: clusters of an odd number of elements often feel more natural than even pairs.
- Texture: mix one smooth surface with one textured surface for quiet interest.
- Dry fit: lay every piece out without adhesive, step back, then adjust.
Photographing your layout on a phone is a helpful trick. The small screen shows balance problems your eye missed at arm’s length.
A first project walkthrough
Reading about techniques only goes so far, so here is a simple plan for a first session. It uses a folded greeting, a little cutting and a touch of rolling, which gives you a taste of several families in one sitting. Set aside an evening and clear a small table.
- Cut a rectangle of medium cardstock and fold it in half to make a card base. Press the fold flat with a bone folder or spoon.
- Cut a smaller piece of patterned paper and glue it to the front, leaving an even border.
- Cut a few thin strips of coloured paper and wind each around a toothpick to form loose coils.
- Pinch the coils into petal and leaf shapes, then glue the ends closed.
- Arrange the shapes into a simple flower on the front and fix them with liquid glue.
- Write your message inside and let everything dry before closing the card.
Do not worry if the result looks rough. Your second attempt will already be tidier, because you now know how the paper behaves under the blade and in the glue.
Reading a pattern or diagram
Most tutorials use symbols or numbered photographs. Read the whole sequence once before you start, then follow it step by step without skipping ahead. If a step makes no sense, look at the finished picture and work out what the paper must do to get there.
Keeping a project notebook
A small notebook turns scattered experiments into skills. Write down the paper, glue and tools you used, and note what you would change next time. After a few months it becomes a personal reference that is more useful than any shopping list.
Making papercraft part of everyday life
Papercraft fits into small pockets of time, which is part of its charm. You can prepare strips for quilling while a film plays, fold origami on a train, or assemble a card in an evening. The craft asks for attention rather than space.
Many makers find the repetition calming. Folding the same crease again and again, or winding coil after coil, gives the hands something steady to do while the mind rests. That quiet focus is a large part of why the hobby has lasted so long.
There are practical rewards too. Handmade cards, tags and decorations cost little, use up leftover paper and make thoughtful gifts. Reusing envelopes, old maps, sheet music and magazine pages keeps materials out of the bin and gives your work character.
Sharing and learning with others
Local craft groups, library workshops and online forums are good places to swap ideas and ask questions. Sharing a table with other makers shows you how differently people solve the same problem. Be wary of any group that pressures you to buy particular brands, since you can do excellent work with modest supplies.
Sustainable choices
Paper is a renewable material, but you can be thoughtful about how you use it. Keep offcuts, choose recycled or responsibly sourced stock where you can, and favour water-based adhesives. Foil, glitter and heavy plastic coatings make recycling harder, so use them sparingly.
Troubleshooting common problems
Most papercraft frustrations have simple fixes. Here are the ones that come up most often.
- Paper cockles or wrinkles after gluing: use less adhesive, switch to tape, or move to a heavier stock.
- Cracked folds on cardstock: score the line first with a bone folder, then fold along the score.
- Ragged cut edges: fit a fresh blade and cut in several light passes.
- Quilled coils that spring open: hold the coil for a moment before releasing, and glue the tail firmly.
- Paper mache that stays damp: use thinner layers, allow full drying between coats, and keep air moving.
- Colours that bleed: test inks and markers on a scrap before you commit to a design.
Mistakes are part of the process. Keep your failed attempts for a while, since they show you exactly how far you have come.
Storing and displaying your work
Store flat work in a folder or a shallow box with acid-free sheets between layers. Keep paper away from direct sun and damp, which fade colours and warp sheets. Use a deep frame or spacers that keep the glass clear of quilled or layered pieces.

Frequently asked questions
What is the easiest papercraft for a complete beginner?
Show answer
Simple origami and paper cutting need the fewest supplies. A square of printer paper is enough for simple origami; add scissors for paper-cutting projects.
What weight of paper should I use for cards?
Show answer
Altenew’s guide describes 90 lb cardstock as great for greeting cards and 110 lb cardstock as ideal for card bases. Check the GSM figure, because pound ratings differ between paper types.
Is papercraft safe for children?
Show answer
Yes, with sensible choices. Use blunt scissors, washable glue and adult supervision for any blade, and keep craft knives out of reach.
Do I need a cutting machine to get started?
Show answer
No. A craft knife, a ruler and a mat handle most projects, and you can add a machine later if you want repeatable shapes.