Starting paper mache for beginners needs only newspaper, flour and water. Tear strips, soak them in runny paste, build thin layers over a mold, and let each layer dry.
New to the wider hobby? See our guide to papercraft for more ideas.
| Item | Value |
|---|---|
| Reference flour-to-water ratio | 1 cup flour to 1 cup water |
| Thinner cooked paste | 1 cup flour to 2 cups water |
| Fridge life of cooked paste | Up to around a week |
| Salt | Optional, helps against mold |
| Common method | Torn strips of paper dipped in paste |
Figures come from The Graphics Fairy and Red Ted Art. Recipes vary and pages change, so check the sources before you rely on them.
What paper mache is and what you need
Paper mache is a way of building a hard shell from paper and a sticky liquid. You lay wet paper over a shape, let it dry, and the result becomes stiff enough to paint.
The basics are simple. The Graphics Fairy lists these materials:
- Newsprint paper, blank or old printed newspaper
- Water
- Salt
- An adhesive, such as flour paste
- Sandpaper
- Vaseline, for highly detailed molds
Add a bowl for the paste, an old container to protect your table, and something to use as a mold, such as a balloon, a bowl or a cardboard shape.
Two ways to prepare the paper
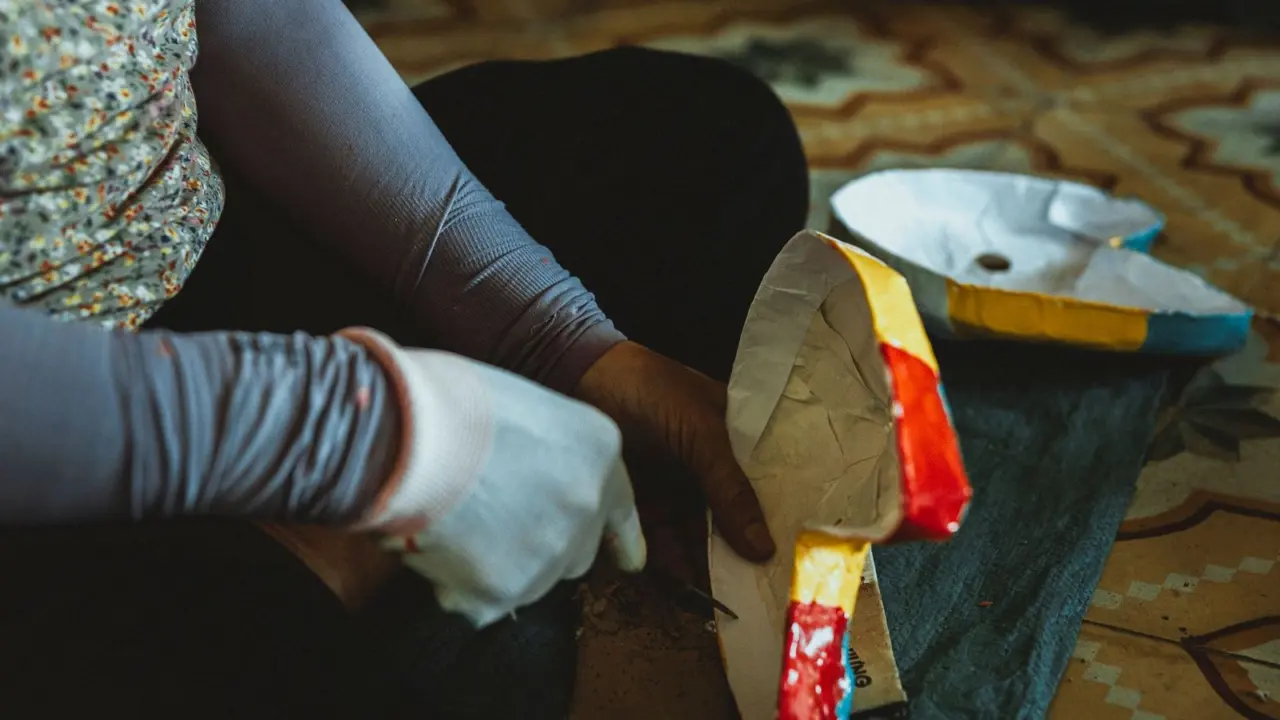
There are two main routes. One method uses paper pulp, made by putting scraps into boiling water or soaking the paper overnight, then mixing in an adhesive. According to The Graphics Fairy, the most common method is to tear strips of paper, soak them in paste, then lay them on a shape.
For a first project, strips are the easier choice. They give you a smooth, even surface, and you can see where you have already covered.
Why torn strips beat cut ones
Tear along the paper rather than cutting it. Torn edges are fuzzy, so they blend into the layer below and leave fewer ridges to sand later. Newspaper tears more easily in one direction, so try both and follow the grain.
How to make paper mache paste
Flour and water is the usual beginner paste because it is cheap and safe to handle. The Graphics Fairy says there is no exact ratio, but that “1 cup flour to 1 cup water is a good reference point”. Red Ted Art uses a thinner mix of 1 cup plain flour (all purpose flour) and 2 cups tap water, mixed and then heated.
Aim for the texture of thin pancake batter or single cream. If it is too thick, add water. If it is too runny and the paper slides off, add a little flour.
Steps for a cooked paste
- Stir the flour into cold water until no lumps remain.
- Heat gently on the stove or in a microwave, stirring often, until it thickens slightly.
- Let it cool fully before you put your hands in it.
- Salt is optional; do not rely on it to prevent mold.
On storage, Red Ted Art says the paste should last in your fridge for up to around a week, though the author prefers to use it within 2-3 days. Make small batches and throw away anything that smells sour.
What about salt?
The Graphics Fairy recommends salt for preventing future mold on your project. Red Ted Art treats salt as optional and says it has never needed it, so it is your call, especially in a damp home.
Layering and drying without a soggy mess
Dip one strip at a time and run it between two fingers to squeeze off the extra paste. A strip that drips will leave a wet, weak patch that takes far longer to dry.
Overlap strips in different directions, and smooth each one flat. Build up thin layers instead of a few thick ones, because thick layers dry slowly and can stay damp inside.
- Let each layer dry before you add the next, especially on a first attempt.
- Put the work somewhere with moving air, such as a rack or an upturned bowl, so it dries on all sides.
- Use more layers for things that need to be strong, such as masks or boxes, and fewer for light decorations.
- If a layer feels cool or soft when you touch it, give it more time.
Drying time depends on humidity, room temperature and paste thickness, so judge by touch, not by the clock.
Easy first projects
The Graphics Fairy walks through a small paper mache bowl using an inflated balloon as a mold. It is a good first project because the shape is simple and the balloon pops away cleanly once the shell is hard.
Other ideas that suit new makers:
- Bowls and dishes: a balloon or an upturned bowl lined with cling film works as a mold.
- Gift boxes: cover a small cardboard box for a sturdier finish.
- Ornaments: use small balloons or crumpled foil as a base.
- Animal heads and masks: shape the form from card and tape, then cover it with strips.
If you are crafting with children, the ideas in our guide to paper crafts for kids pair well with this messy, hands-on method. If you like folding and cutting more than pasting, try kirigami for a cleaner alternative.
Setting up your workspace
Paper mache is wet and messy, so prepare before you mix. Cover the table with plastic sheeting or old newspaper, and wear clothes you do not mind staining.
Keep a bowl of clean water and a towel nearby for your hands. Tear all your strips first, so you are not tearing paper with sticky fingers halfway through.
Choose a spot where the finished piece can sit for a long time without being knocked. A shelf or a rack by a window works well, as long as air can reach every side.
Finishing, sanding and painting
Once the piece is completely dry, sand rough edges lightly with sandpaper. The Graphics Fairy says the best way to apply gesso is with a sponge or brush in multiple thin layers, which gives a smooth base for paint.
Then paint and decorate as you like. Acrylic paint works well, and a coat of varnish or sealer adds protection if the piece will be handled often.
Common beginner mistakes
- Using paste that is too thick, which leaves lumps under the paper.
- Rushing the drying, which can trap moisture and cause mold.
- Skipping a barrier on the mold, so the shell sticks and tears.
- Leaving paste out for days until it smells.
Frequently asked questions
What is the easiest paper mache paste?
Show answer
Flour and water is the usual choice. The Graphics Fairy gives 1 cup flour to 1 cup water as a reference point, and you can thin it with more water.
Do I need to add salt?
Show answer
It is optional. The Graphics Fairy recommends it to help prevent mold, while Red Ted Art says it has never needed it.
How long does flour paste keep?
Show answer
Keep it covered in the fridge and make a fresh batch when it smells sour. Small batches are less wasteful, and a fresh batch also grips the paper better.
Which paper should I use?
Show answer
Newspaper is the usual choice. The Graphics Fairy says torn strips of newspaper are the definitive choice for most crafters.