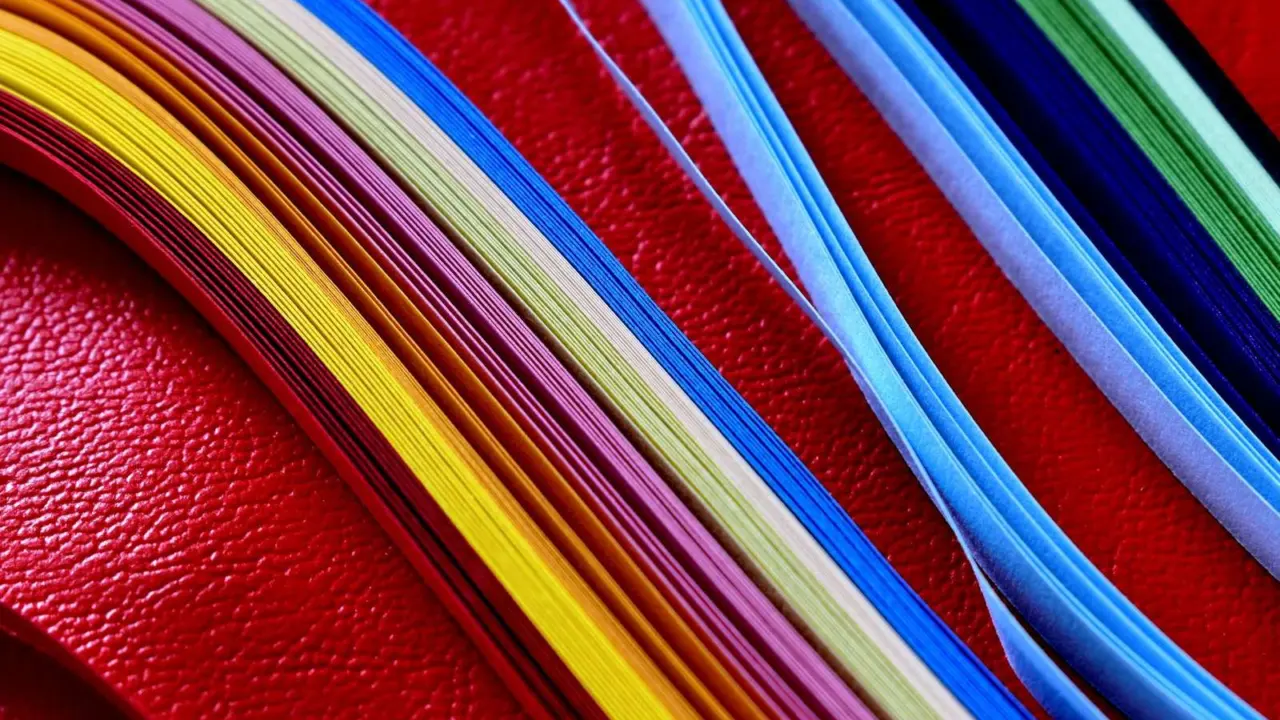
Curious but unsure where to begin? Paper quilling for beginners needs only narrow paper strips, glue and something to roll with. Start with standard 1/8″ strips and a simple loose coil.
This guide is part of our papercraft section, where we cover the crafts that grow from simple paper.
| Item | Value |
|---|---|
| Standard strip width | 1/8 inch |
| Strip length for a basic loose coil | 12 inches |
| Strip length for a small bead | 2½ inches |
| Substitute rolling tool | Bamboo skewer, round toothpick or cake tester |
| Glue amount | A very small amount |
These figures come from Make: magazine’s quilling basics lesson, an older tutorial. Sizes and supplies vary by shop and project, so check the source before you rely on them.
What quilling is and where it came from
Quilling is the coiling and shaping of narrow paper strips to create a design. It has been around for hundreds of years.
According to Make:, during the Renaissance, nuns and monks rolled gold-gilded paper remnants trimmed during the bookmaking process. They used them to decorate religious objects as an alternative to costly gold filigree.
Today the craft is mostly used for cards, framed pictures, jewellery and small decorations. It is quiet, tidy and cheap to start, which is why it suits a first papercraft project.
Why paper quilling for beginners works well
Few crafts ask for so little. You can sit at a kitchen table with a handful of strips and finish a small piece in one evening.
The skill is also easy to break into small steps. You learn one coil, then one pinch, then combine them into a flower, a leaf or a heart.
That gradual path means a first attempt rarely feels wasted. Even a slightly uneven coil can sit happily in a card or a gift tag.
What you need to start
The short list of necessities is lightweight paper strips, glue and a rolling tool. Make: says that is all you need.
A fuller kit makes the work more comfortable. The Make: materials list for its basic lesson includes:
- Quilling paper, 1/8″ standard width
- A needle tool or slotted tool
- Ruler and scissors
- Tweezers
- Clear-drying glue suitable for paper
- A plastic lid to use as a glue palette
- A T-pin, paper piercing tool or round toothpick for applying glue
- Glass-head straight pins
- A non-stick work board, cork or styrofoam to stick pins into
- A damp cloth to keep fingers free of glue
You do not have to buy everything first. A bamboo skewer, round toothpick or even a cake tester from your kitchen drawer can serve as a substitute tool.
Needle tool or slotted tool?
A slotted tool holds the strip end in a split, so the first turns are easy. A needle tool is a plain point, and it needs a little more practice to start the roll.
Make: lists either type as suitable. Try the slotted one if you struggle to get the paper to grip.
How to make your first loose coil
Make: calls the loose coil the basic shape from which many other shapes are made. Learn it first and the rest follow.
- Cut or pick a strip of 1/8″ quilling paper. The Make: lesson rolls a 12″ strip.
- Slip the end into your slotted tool, or start rolling it around a needle tool.
- Turn a slotted tool, or hold a needle tool still and roll the paper around it with your fingers, keeping the edges lined up.
- Slide the coil off the tool and let it relax and open up.
- Put a tiny dab of glue on the loose end and press it to the coil.
Make: advises using only a very small amount of glue, applied with the tip of a T-pin, paper piercing tool or toothpick.
Shapes to learn after the coil
Almost every quilled design is a coil that has been pinched or shaped. Once your loose coil is steady, you can try a few variations.
- Teardrop: pinch a loose coil sharply at the tip to make a point.
- Heart: place two teardrops side by side, facing opposite directions so the inner coils appear to meet.
- Bead: roll a short 2½” strip around the shaft of a paper piercing tool or round toothpick.
Make: uses these shapes in simple projects. One is a candy jar tied with ribbon and decorated with teardrops and hearts. Another is a card outlined with quilling strips.
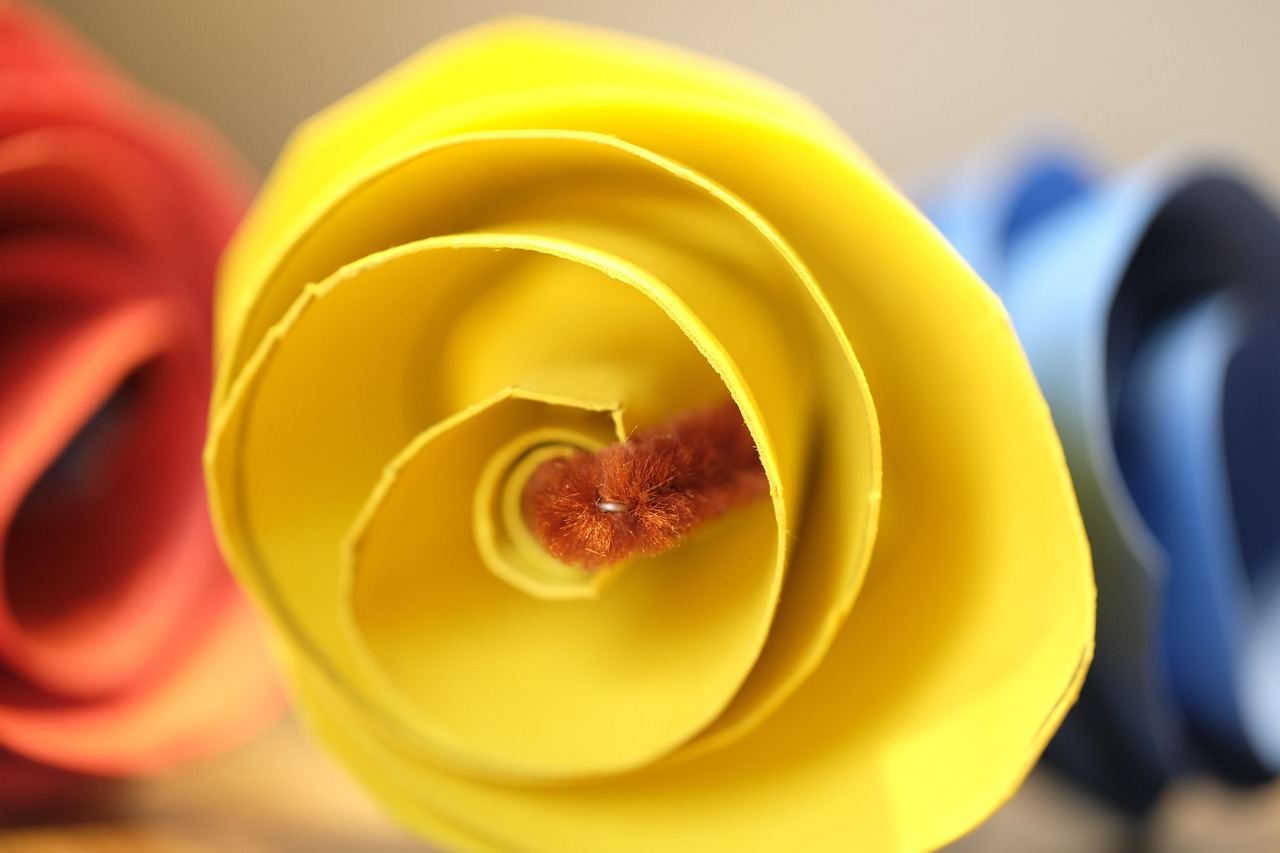
If you like the idea of turning rolled paper into petals, our guide on how to make paper flowers shows related ideas on a larger scale.
A simple first project plan
Pick something small so you finish it. The Make: lesson offers two ideas that use only the shapes above.
- Gift jar: make teardrops and hearts, glue the hearts to small cardstock squares and tie them to a ribbon around a jar.
- Framed card: outline a piece of patterned paper with quilling strips for a neat border.
Work on a board you can pin into, and keep a damp cloth close. Lay out the pieces before gluing so you can see how the colours sit together.
Colour is where beginners often have the most fun. Choose two or three shades that suit each other and repeat them across the design.
Tips to avoid common beginner problems
Most early frustrations come from the same few habits. These fixes help.
- Use less glue. A small touch is enough, and it keeps the paper clean.
- Keep the strip edges aligned. Uneven winding makes a lopsided coil.
- Let coils relax. Release a loose coil before gluing so it reaches its natural size.
- Wipe your fingers. A damp cloth stops glue from spreading onto your work.
- Pin shapes while they dry. A cork or foam board keeps pieces in place.
Practise with a few spare strips before you start a project. Rolling a handful of identical coils is a good way to build an even hand.
Once you enjoy the craft, you may want to put your quilled pieces on a page. Our notes on scrapbooking cover how paper embellishments fit into albums and layouts.
Setting up a comfortable workspace
A tidy desk makes small paper pieces much easier to handle. Good light matters more than expensive supplies.
- Sit near a window or under a bright lamp.
- Keep strips in a flat box so they do not crease.
- Put a little glue on a plastic lid, as the Make: list suggests, rather than working from the bottle.
- Keep tweezers within reach for tiny pieces.
Short sessions help too. Your fingers learn the rolling motion quickly, and a rested hand gives neater coils.
When a piece goes wrong, set it aside rather than throwing it out. Rolled shapes can often be reused as spare parts in a later design.
Frequently asked questions
What paper width should a beginner use?
Show answer
Make: lists 1/8″ as the standard width in its quilling lesson, so it is a safe place to start. Some guides suggest slightly wider strips for easier handling, so try both.
Do I need to buy a quilling tool?
Show answer
No. Make: says a bamboo skewer, round toothpick or cake tester can serve as a substitute tool. A slotted tool is still handy once you want neater results.
What glue works best?
Show answer
Make: lists clear-drying glue suitable for paper. Use a very small amount, applied with a pin or toothpick.
How do I make a teardrop?
Show answer
Roll a loose coil, then pinch sharply at the tip to make a point.