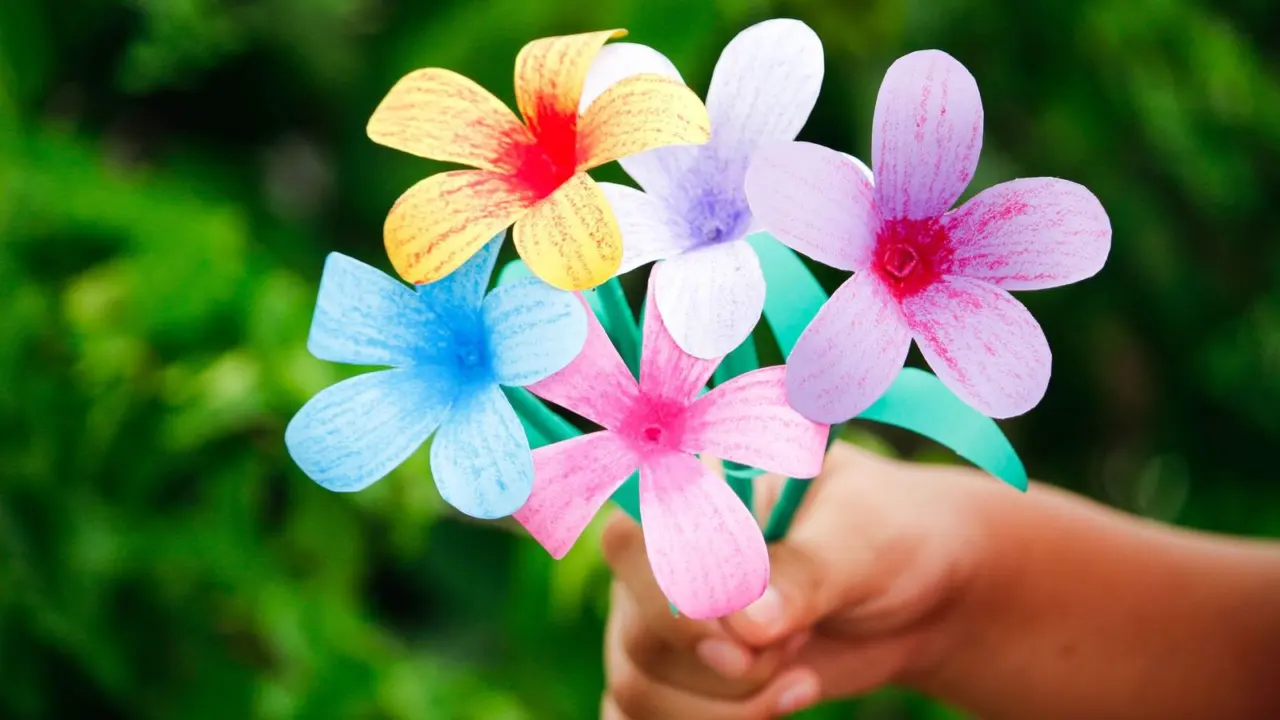
Wondering how to make paper flowers without special tools? Fold a stack of tissue paper like a fan, tie the middle, trim the ends and fluff the layers apart. It takes a few minutes.
New to the craft? Our papercraft hub covers the wider topic.
| Item | Value |
|---|---|
| Small flower: sheets of tissue | 7-9 sheets |
| Small flower: sheet size | about 3″ x 5″ |
| Larger flower: sheets of tissue | 9-12 sheets |
| Larger flower: sheet size | around 4″ x 6″ |
These sizes come from one tutorial at Craftsy Hacks. Figures can change and other guides differ, so check the source before you rely on them.
What you need to start
The tissue paper flower is the easiest way in, because the paper is soft, cheap and folds without fuss. You only need three things.
- Tissue paper in one or more colours
- Scissors
- Thread (or thin wire if you want a stem)
Pick colours before you cut. Layering different shades in one stack gives a richer, more natural bloom than a single flat colour.
A flat table, good light and a few spare sheets for practice help more than any extra gadget. Your first flower will rarely be your best, and that is normal.
Step-by-step: the fan-fold tissue flower
This method works because the accordion fold creates many petals at once. Follow the steps in order.
- Cut your sheets into rectangles and align them in a neat stack.
- Starting at one end, fold the whole stack back and forth like a paper fan, keeping the folds even.
- Tie thread tightly around the middle of the folded strip.
- Cut the ends. Rounded ends give soft petals; pointed ends give a spikier, dahlia-like look.
- Gently pull each layer up and toward the centre, one at a time, and fan the petals out.
Go slowly on the last step. Tissue tears easily, so lift one layer at a time rather than tugging the stack.
How many sheets make a full flower?
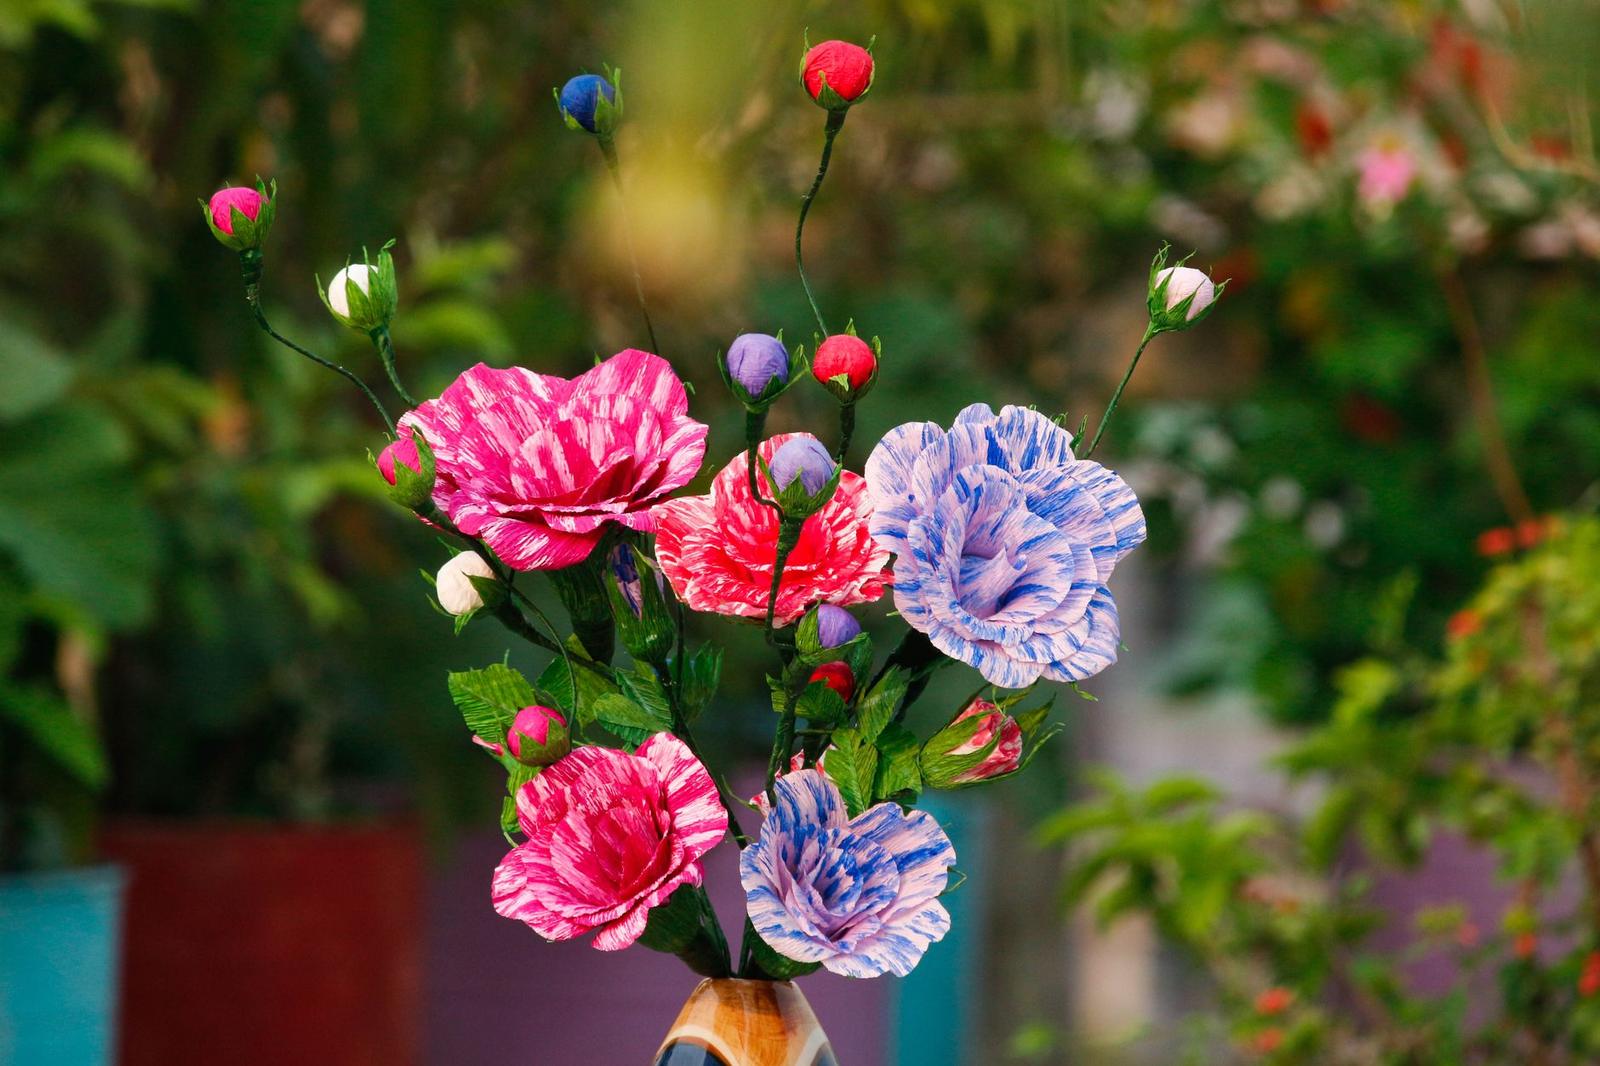
The number of layers sets how lush the flower looks. Craftsy Hacks says a small flower typically takes 7-9 sheets measuring about 3″ x 5″, while a larger one of around 4″ x 6″ takes 9-12 sheets.
More layers mean a thicker stack that is harder to fold, but a fuller result. If your folds keep slipping, remove a sheet or two.
The same tutorial notes that the more layers you add, the thicker the stack and the fluffier the flower turns out. Treat the counts as a starting point and adjust to the paper you own, since tissue varies in weight between brands.
Shaping petals and getting a natural look
The cut at the ends decides what kind of flower you get. A few quick snips can turn the same folded strip into a different bloom.
- Rounded ends: soft, peony-like petals. Trim each corner in a gentle curve.
- Pointed ends: sharper petals that suit dahlias and chrysanthemums.
- Scalloped or fringed ends: a ruffled edge that looks like a carnation.
Cut through the whole folded stack at once so every layer matches. If you cut one side only, tidy the second end to mirror the first.
When you fluff, start with the top layer and lift one sheet at a time toward the centre. Pull each sheet toward the middle on one side, then repeat on the other side so the flower stays balanced. Leave a few petals slightly uneven, because real flowers are never perfectly symmetrical.
Ways to change the look
Once the basic flower works, small changes give very different results. Try these variations.
- Colour: blend two or three shades, or fade from light to dark.
- Size: start with larger rectangles for wall or party displays, smaller ones for card decoration.
- Stem: wrap wire in green paper or tape for a vase flower.
- Centre: glue a small ball of scrunched yellow tissue or a button in the middle.
If you like detailed, rolled shapes, paper quilling for beginners shows another way to build flowers from strips. For cut-and-fold designs, our guide to kirigami offers more ideas.
Making a stem and arranging your flowers
A wire stem turns a decoration into something you can put in a vase. Tie the flower on with the wire instead of thread, or twist the wire around the thread once the flower is finished.
Then cover the wire so it looks neat. Wrap it in strips of green paper, secure the end with a dab of glue, and bend the stem gently into a natural curve.
For arrangements, vary the sizes and heights. A group of small, medium and large flowers looks more convincing than a row of identical ones, and mixing in a few leaves cut from green card adds depth.
Flowers without stems work well too. Stick them on a wall with removable adhesive, thread several onto a string for a garland, or attach one to a gift as a topper.
Common problems and fixes
Most trouble comes from the fold or the tie. Check these first.
- Flat flower: the layers were not pulled apart enough, or there are too few sheets.
- Torn petals: you pulled several layers at once.
- Loose centre: the thread was tied too gently. Re-tie it tighter.
- Uneven shape: the folds were different widths. Keep them consistent.
- Wrinkled paper: a creased sheet will not lie flat. Replace it before you start folding.
Tissue flowers are fragile and fade in strong sun. Keep them indoors and out of damp spots, and store them in a box with space around the petals so they stay fluffy.
Choosing paper and colours
Thin, lightweight paper gives the fluffiest petals. Standard gift tissue is ideal, while crepe paper gives a papery, stretchy petal that holds a curve once you shape it.
Heavier papers such as cardstock need a different method, such as cutting petals separately and gluing them in rings. They look crisp and sculptural, but they do not fluff like a fan-folded stack.
- Soft palettes: pastel pinks, creams and pale yellows suit weddings and baby showers.
- Bold palettes: orange, red and magenta read well in party décor.
- Mixed stacks: alternate two neighbouring shades for a gentle ombré effect.
Test your colours by holding two sheets together against the light. Tissue is translucent, so the shade on top shows the one beneath it, and the combined colour is often different from what you expect.
Using paper flowers on cards and gifts
Small flat flowers are a good way to add texture to a handmade card. Make a small flower, press it gently, and glue it by the centre only so the petals still lift off the surface.
Keep the card envelope in mind. A very fluffy flower can be crushed in the post, so either use fewer layers or fold the petals down for travel and let the recipient fluff them up again.
For gifts, a single flower tied to the ribbon replaces a shop-bought bow. Make two or three in matching colours and the wrapping looks planned and personal.
Frequently asked questions
What paper is best for beginners?
Show answer
Tissue paper is the friendliest choice. It folds easily and fluffs into soft petals.
Do I need glue?
Show answer
Not for the fan-fold flower. Thread holds the centre; glue is optional for decorations, stem wrapping or attaching the flower.
How do I add a stem?
Show answer
Tie the flower onto a length of wire instead of thread, then wrap the wire in green paper.
Can I use ordinary printer paper?
Show answer
You can, but it is stiffer, so the petals are harder to separate and look less airy.