Staring at a blank sheet and wondering where card making starts? Start small: one folded piece of cardstock, a sharp blade and a simple layout. This guide walks you through supplies, sizes, techniques and finishing.
| Item | Value |
|---|---|
| Most common US folded card size | 5 x 7 inches |
| Smaller everyday folded size (A2) | 4.25 x 5.5 inches |
| Envelope for a 5 x 7 card (A7) | 5.25 x 7.25 inches |
| Most popular card-making cardstock weight | 80 lb / ~216 GSM |
| Heavy cardstock weight | 100 lb / ~270 GSM |
Figures come from a printer’s greeting card size guide and a cardstock guide for card making. Sizes and weights vary by brand and region, so check the source or your paper’s label before you rely on them.
What card making is and why people love it
Card making is the craft of designing and assembling greeting cards by hand, usually from cardstock, patterned paper and a few decorative extras. It sits inside the wider world of papercraft, alongside scrapbooking, paper cutting and origami.
A handmade card costs little, takes an evening, and carries something a shop-bought one cannot: your time. Most people begin because a birthday is close. Many keep going because the process is calming and the results are easy to share.
You do not need a studio. A clear table, good light and a handful of basics will get you through your first few cards.
This hub covers the whole path. If you want a gentler on-ramp, read the guide to card making for beginners first, then return here to fill in the details.
Essential supplies for handmade cards
Start with a short kit and add things only when a project demands them. Buying everything at once is the most common way to end up with a drawer of unused gadgets.
- Cardstock for the card base and layers.
- A trimmer or craft knife with a metal ruler and a cutting mat.
- A scoring tool, such as a scoring board, stylus or wheel.
- Adhesive: double-sided tape, a glue pen and foam pads for lift.
- Scissors, a pencil and an eraser.
- Decoration: stamps, ink, stickers, die-cuts, pens or washi tape.
The choice of blade matters more than most beginners expect. Our overview of paper cutting tools compares trimmers, knives, scissors and punches so you can pick what suits your hands and budget.
Adhesives at a glance
- Double-sided tape: best for flat layers and strips, but hard to reposition once pressed down.
- Liquid glue pen: best for small, detailed pieces, but it can wrinkle thin paper if overused.
- Foam pads: best for raised focal elements, but they add thickness that matters when mailing.
- Glue dots: best for gems and small embellishments, and not ideal for large areas.
Whichever you choose, apply adhesive to the piece you are attaching rather than to the card. That keeps stray smears off the base and gives you better control near the edges.
Many card makers keep one fast, strong tape for layers and one forgiving glue for fiddly parts. Having both means you rarely fight the wrong tool halfway through a design.
Choosing cardstock: weight, grain and colour
Paper weight is the first thing to understand. In the US it is measured in pounds, and internationally in grams per square metre. According to Cricut’s cardstock guide, weight is measured by pounds per 500 sheets in the US (lb), or by how many grams per square meter internationally (GSM).
The same guide calls 80 lb / ~216 GSM the most popular weight for card making. It is sturdy enough for a base and still folds cleanly.
Heavier stock suits projects with many layers. The guide describes 100 lb / ~270 GSM as heavy cardstock, which is a good match for structured or layered designs.
Conversions between lb and GSM depend on the paper’s basis sheet size; cover and text weights use different basis sizes. Treat the numbers on any pack as approximate and read the spec sheet if the weight matters.
Practical paper tips
- Use heavier stock for the base and lighter paper for layers, so the card does not become bulky.
- Fold along the grain where you can. A fold against the grain is more likely to crack or look rough.
- Test glue and ink on a scrap before you commit to a good sheet.
- Keep a small stash of white, cream, kraft and black, which pair with almost anything.
Card sizes and envelopes
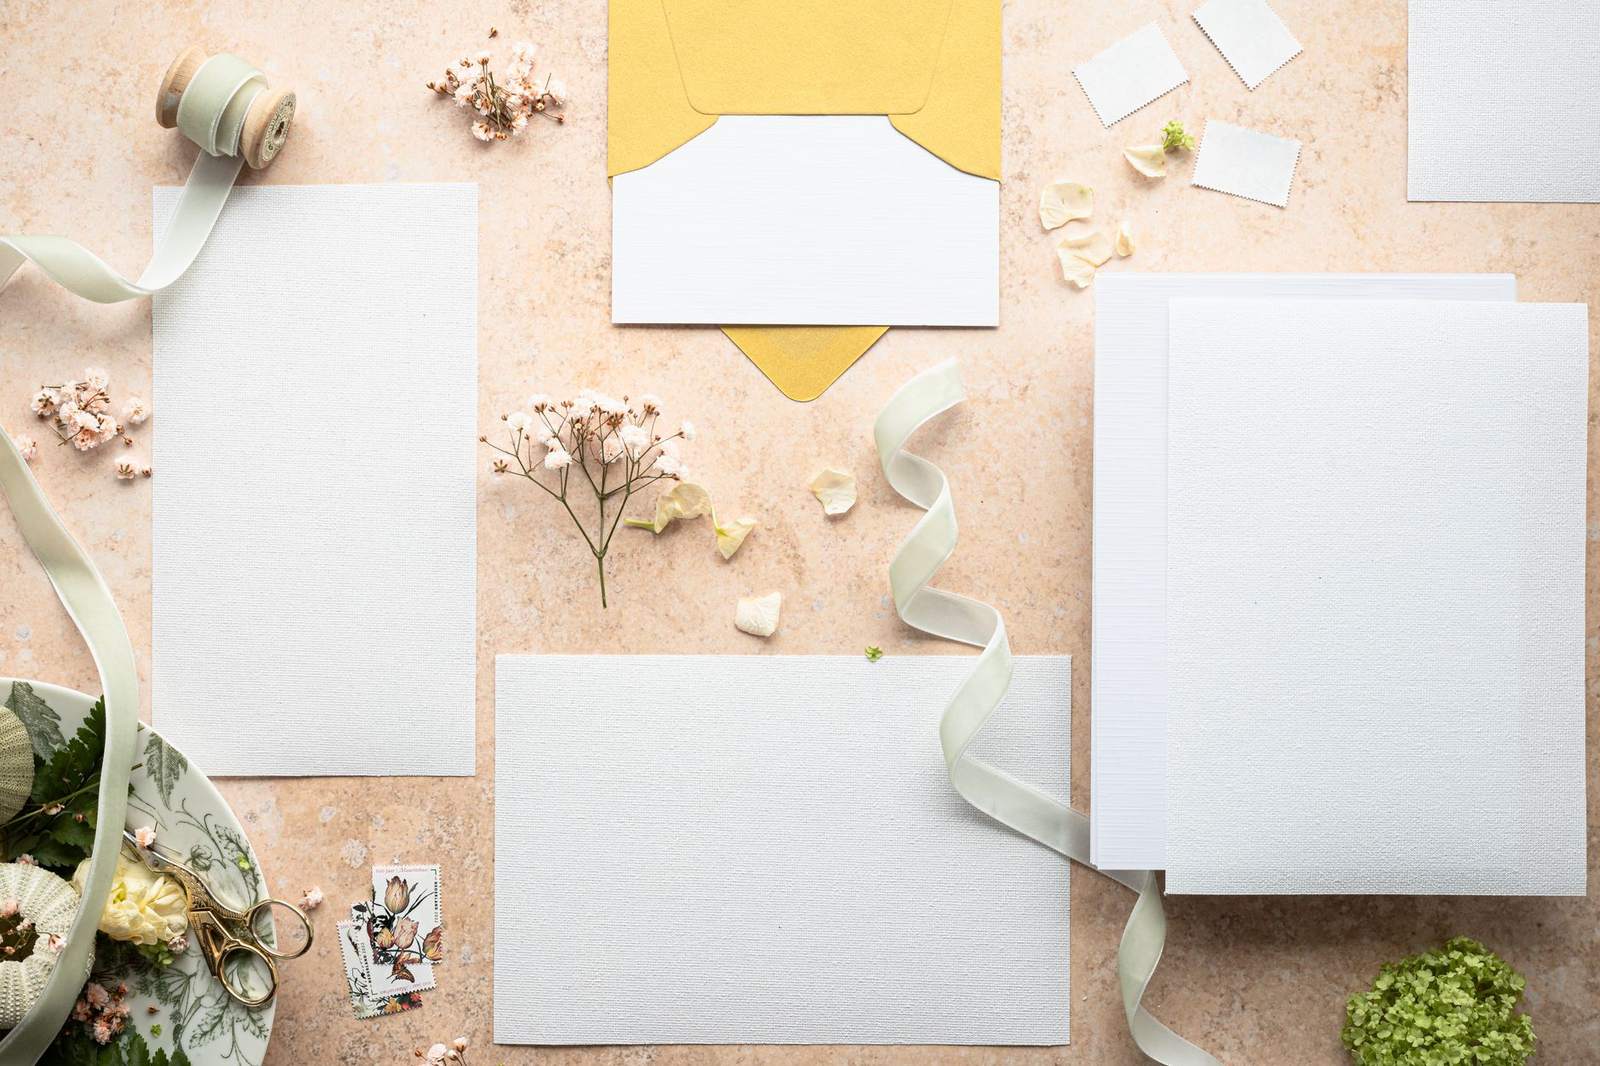
Pick your size before you cut anything, because the envelope decides what is practical. A printer’s guide says the standard greeting card size is 5 x 7 inches, folded from a flat 10 x 7 sheet, the most common size in the US, according to a printer’s size guide.
The other everyday size is 4.25 x 5.5 inches, known as A2, folded from 8.5 x 5.5. Square cards finish at 6 x 6, which is charming but often costs more to post.
- 5 x 7 inches suits birthdays, holidays and photo cards.
- 4.25 x 5.5 inches suits thank-you notes and slim enclosures.
- Square cards suit designs with a bold focal point.
Match the card to its envelope. A 5 x 7 card needs an A7 envelope at 5.25 x 7.25 inches, and an A2 card needs an A2 envelope at 4.375 x 5.75.
Metric countries use different standards. Our reference page on standard card sizes lays these out side by side. If you cannot find the right envelope, learn how to make an envelope to fit any odd-sized card.
How to make a basic card, step by step
A simple top-folded or side-folded card is the foundation for everything else. For a longer walkthrough, see how to make a greeting card.
- Cut the sheet: size the sheet so it covers the front and back together, side by side for a side-folded card or stacked for a top-folded card. Score halfway along that open dimension.
- Score along the centre using a stylus or wheel and a ruler. Scoring compresses the fibres so the fold is clean.
- Fold along the score and run a bone folder or the side of a ruler along the crease.
- Cut a front panel a little smaller than the card face, so a thin border of the base shows.
- Decorate the panel before attaching it, so a mistake costs you a panel and not a whole card.
- Attach the panel with tape or foam pads, then add a sentiment.
- Write inside last, with a pencil guide you can erase.
Cricut’s guide lists a scoring stylus or scoring wheel as a must-have for crisp, professional folds. Cracked folds on dark or heavy stock are the usual reason cards look homemade in the wrong way.
Common mistakes to avoid
- Cutting a front panel the full size of the base, which leaves no border and makes any misalignment obvious.
- Gluing before dry-fitting every element on the card.
- Using too much wet glue on thin paper, which can cause rippling as it dries.
- Skipping the practice sheet when trying a new technique.
Core techniques every card maker should know
Once the basic card feels easy, techniques give your work its own look. You can learn them one at a time, and each pairs well with the others.
Layering and matting
Layering mounts a smaller piece of paper on a slightly larger one to create a frame. It is the easiest way to make a card look finished, and it works with plain papers.
Stamping
Stamping with ink gives you repeatable images and sentiments. Press evenly, lift straight up and test on scrap paper first. Dye ink dries quickly on most papers, while pigment ink stays wet longer, which matters for embossing.
Heat embossing
Embossing powder sticks to wet ink and melts under a heat tool into a raised, glossy line. It makes simple stamped images look rich. Our guide to heat embossing for card making explains the tools, the powders and the tricks for avoiding stray specks.
Die-cutting and punching
Dies and punches cut repeatable shapes from paper, from simple scallops to detailed flowers. They save time when you are making several cards at once.
Pop-ups and interactive cards
Some cards open to reveal a raised shape, a slider or a hidden message. They look complicated but depend on a few simple folds, and our guide to pop up cards shows how the mechanisms work.
Design basics for cards that look polished
Good design is mostly restraint. A card with one clear focal point and plenty of empty space reads as confident, while a crowded card looks busy even when each part is lovely.
- Pick one focal point and let everything else support it.
- Limit your palette to two or three colours plus a neutral.
- Use odd groupings for small embellishments, which feel more natural than even rows.
- Leave breathing room around the sentiment so it can be read quickly.
- Think about the back too: a small stamp or note on the reverse feels thoughtful.
A simple layout sketch helps. Arrange your pieces on the card without glue, step back, and move things until the eye travels naturally from the focal point to the greeting.
Card ideas, skills and finishing touches
This last section gathers the practical extras: ideas for occasions, fixes for common problems, a path for building skill and tips for finishing and posting your work. Dip into whichever part matches where you are in the craft right now.
Card ideas for every occasion
Occasions give you a reason to practise, and a small set of repeatable designs will cover most of the year.
Birthdays are the most common request, and there is huge variety in tone, from playful to elegant. Browse handmade birthday card ideas for layouts you can adapt in minutes.
Seasonal cards reward planning. If you want to make a batch for the winter holidays, the guide on how to make christmas cards shows how to build a production line so a whole list gets done without stress.
- Thank-you cards: small, quick and best made in a batch.
- Sympathy and get-well cards: keep them quiet, with soft colours and a handwritten line.
- Wedding and anniversary cards: cream stock, a neat sentiment and a touch of metallic work well.
- Thinking-of-you cards: no reason needed, which is part of the charm.
Troubleshooting common card problems
Every card maker meets the same handful of problems. Knowing the cause saves a good sheet of paper and a lot of frustration.
Folds that crack or look ragged. Cracking usually means the paper was folded without scoring, or folded against the grain. Score first with firm, even pressure, then fold and burnish the crease. On dark or heavy stock, a lighter score followed by a slow fold often helps.
Wrinkled or warped panels. Too much wet glue or ink makes paper cockle as it dries. Switch to tape for large areas, use glue sparingly, and press finished panels under a heavy book for a short while.
Crooked layers. Mark a light pencil guide on the base before you stick anything down. A thin, even border around a panel hides small errors better than a tight margin does. Dry-fit every piece first and adjust before the adhesive grips.
Smudged ink or stray embossing powder. Let ink dry fully before handling, and rest your hand on a clean scrap sheet while you work. Use an anti-static pouch before stamping, then a soft brush to remove stray embossing powder before heating.
Building your skills over time
Progress comes from repeating simple designs, not from chasing every new product. A sensible path moves from clean basics to richer techniques as your confidence grows.
- Make plain, well-folded cards with a layered front panel until the folds and borders feel automatic.
- Add stamping and a sentiment, practising even pressure and tidy placement.
- Try heat embossing, die-cutting or colouring to add texture and colour.
- Experiment with pop-ups, sliders and other interactive structures.
- Develop your own style by choosing a palette and layout you return to often.
Keep a small notebook or a folder of photos of finished cards. Noting which colours, layouts and sentiments worked helps you repeat success and avoid old mistakes.
It also helps to copy rather than invent at first. Recreating a card you admire, then changing the colours or the layout, teaches composition faster than starting from nothing every time.
Setting up a comfortable workspace
A tidy, well-lit space makes the craft more enjoyable and your cuts more accurate. Position a lamp so your hand does not cast a shadow over the cutting line, and keep your blade away from the edge of the table.
- Use a self-healing mat under every cut, and replace blades when they begin to drag.
- Keep adhesives, pens and small tools in open containers within easy reach.
- Store paper flat in a drawer or folder, away from damp and sunlight, so it stays crisp.
- Clean your ruler and mat now and then, because residue transfers to pale paper.
A small trash bin or scrap box nearby keeps offcuts from drifting across your project. Sort the useful scraps afterwards, and you will find them handy for tiny panels, tags and sentiment strips.
Batch making, storage and posting
Making several cards from one design saves time and keeps costs down. Cut all your bases first, then all your panels, then assemble in stages.
Store finished cards flat in a box, with envelopes, and keep scraps sorted by colour. Scraps become tags, sentiments and small die-cut shapes later.
Before posting, check the weight and thickness of the finished card against your postal service’s rules. Foam pads, gems and bows often push a card into a higher price band, so test one in a real envelope first.
- Press down embellishments with a clean sheet over them before sealing the envelope.
- Write the address clearly and leave the area around it free of decoration.
- Add a thin sheet of tissue or vellum over delicate work.
Frequently asked questions
What do I need to start card making?
Show answer
Cardstock, a trimmer or knife with a ruler and mat, a scoring tool and adhesive are enough. Add stamps, inks and dies later, once you know which style you enjoy.
What is the best cardstock weight for cards?
Show answer
According to Cricut’s cardstock guide, 80 lb / ~216 GSM is the most popular weight for card making. Use heavier stock for layered designs and lighter paper for panels.
What size should a handmade card be?
Show answer
A 5 x 7 inch card is the most common US size, and 4.25 x 5.5 inches (A2) is the smaller everyday option, per a printer’s size guide. Choose the size that fits an envelope you already have.
Why does my cardstock crack when I fold it?
Show answer
Folding without scoring, or folding against the grain, is the usual cause. Score first, fold with the grain where possible and press the crease flat.
Do I need expensive tools?
Show answer
No. A ruler, a scoring tool, a blade and decent glue produce clean cards. Specialist tools are unnecessary for basic cards, but some techniques require them.