Staring at a blank sheet with a birthday tomorrow? These handmade birthday card ideas suit toddlers to grandparents, and most need only paper, glue and a little time.
| Item | Value |
|---|---|
| Lightweight cardstock | 65 lb |
| Most popular card-making weight | 80 lb / ~216 GSM |
| Heavy cardstock | 100 lb / ~270 GSM |
| Suggested card base weight | 100-110 lb |
These weights come from Cricut’s cardstock guide. Figures can change, so check the source before you rely on them.
Start with the right paper
A good card begins with the base. Cardstock is the usual choice, and its weights behave very differently once you start folding and gluing.
According to Cricut’s guide, 80 lb cardstock (about 216 GSM) is the most popular weight for card making. For the base, the same guide says to go for heavy cardstock (100-110 lb) to give the card structure. It also warns that 65 lb used for a heavy base can cause the card to sag.
- Light paper (65 lb): delicate layers and intricate cut-outs.
- Middle weight (80 lb): general card making and layering.
- Heavy paper (100 lb): sturdy bases that carry embellishments.
Matching weight to job matters. The guide notes that heavy cardstock for a delicate 3D flower can look bulky, so keep thick paper for the base and thin paper for the decoration.
Prepare your folds properly
Cracked folds are the quickest way to spoil a nice design. The cure is a scoring tool, which the guide calls a must-have for crisp, professional folds.
The guide says you should always score cardstock before folding, especially heavier weights. Paper also has a grain, and folding with the grain is much easier than folding against it. If your folds keep cracking, check the grain first.
- Cut the cardstock to the size you want.
- Score down the middle with a stylus or scoring wheel.
- Fold along the line, working with the grain where you can.
- Press the crease flat with a bone folder or the side of a ruler.
Handmade birthday card ideas for little ones
Young children like cards where they can make a mess and see a result quickly. Let them choose the colors and keep the steps few.
- Paper-strip candles: cut colored strips, glue them along a folded card and add a yellow flame.
- Handprint balloons: trace and cut out hands, then draw string lines with a marker.
- Sticker cake: a simple paper cake shape covered in stickers and paper scraps.
- Scribble collage: color a page freely, then cut it into shapes for the cover.
- Thumbprint animals: press inky thumbs onto the page, then add faces and legs with a pen.
Adults can do the cutting and scoring while children handle the gluing and decorating. A finished card does not need to be neat to be treasured.
Keep the base simple for small hands. A heavy cardstock base stays upright even when sticky layers pile on, which means fewer tears when a young crafter gets enthusiastic.
Ideas for tweens and teens
Older kids often want something that looks cool rather than cute. Think bold lettering, clean layouts and one clever detail.
- Giant letter card: cut the birthday person’s initial from patterned paper and mount it on a plain base.
- Shaker card: a window filled with sequins that rattle when the card moves.
- Comic card: a speech bubble with an in-joke on the front.
- Hidden message card: a flap that opens to a handwritten note.
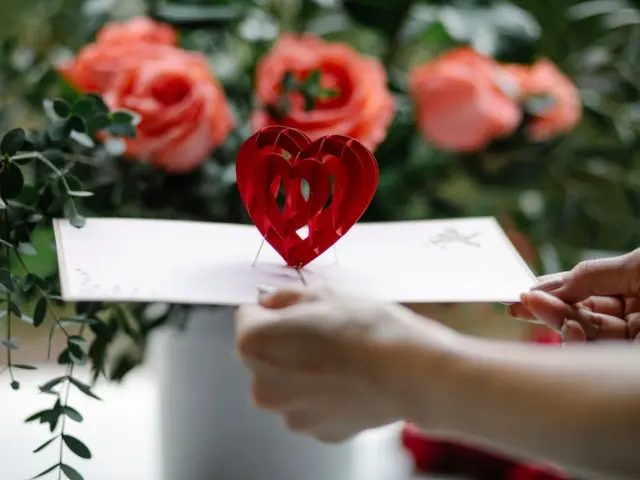
For more drama, look at our guide to pop up cards, where a design lifts off the page as the card opens. It is an easy way to give a simple layout a big reaction.

Cards for adults and grandparents
Adults tend to enjoy restraint. A layered card in a small palette with a neat sentiment feels thoughtful and polished.
- Choose a patterned paper first and pull your other colors from it.
- Mount a smaller panel on the front with a thin border showing.
- Keep embellishments to a single cluster, such as a paper flower.
- Write a personal note inside; it matters more than any decoration.
For grandparents, a card with a drawing from the grandchildren or a printed photo often becomes the one that stays on the mantel. Pick a calm color and let the picture carry the card.
Lighter paper works well for the delicate flowers and layers on these cards, while the base stays heavy. That mix is what gives the card a shop-bought feel.
Personalise the card and write the message
The best handmade cards feel like they were made for one person. Start by thinking about what the birthday person loves, then let that choose your theme.
- Hobbies: a paper football, guitar, paintbrush or bike cut from colored scraps.
- Favorite colors: build the whole palette around them, even if they are not your own.
- Pets: a simple paper animal face with a party hat.
- Shared memories: a small drawing of a place you visited together.
The message inside deserves as much thought as the cover. A short, specific line, such as a memory or a wish for the year ahead, lands better than a long generic verse.
Write the message in pencil first, then trace over it in pen once you are happy with the spacing. Leave a little room at the bottom for your signature so the page does not feel crowded.
Use scraps and keep it low cost
You do not need a full craft room to make something lovely. Offcuts, old wrapping paper, magazine pages and leftover patterned sheets all make charming layers.
Keep a small box of scrap paper sorted by color, and you will always have a head start on the next card. A glue stick, scissors, a ruler and a pen cover most of the projects above.
- Cut shapes from wrapping paper for a one-of-a-kind pattern.
- Tear paper edges instead of cutting them for a soft, relaxed look.
- Reuse small leftover pieces for confetti, flames or tiny flowers.
Making your first card step by step
If you have never made one, the basics are simple. The walkthrough on how to make a greeting card covers them in more depth, and the wider card making section has more projects to try.
- Choose a heavy base and a lighter paper for decoration.
- Score and fold, then press the crease flat.
- Cut a smaller panel for the front and glue it on.
- Add your decoration, such as shapes, stickers or lettering.
- Write the message inside and sign it by hand.
To check grain direction, use an offcut from your intended sheet, keep track of its orientation, and compare perpendicular folds; the easier fold runs with the grain.
Frequently asked questions
What paper is best for a handmade birthday card?
Show answer
Cardstock is the usual pick. Cricut’s guide calls 80 lb the most popular weight for card making, while heavier 100-110 lb suits bases that carry thick layers.
How do I stop folds from cracking?
Show answer
Score the line first with a stylus or wheel, and check the grain direction of your paper. Cracking usually comes from folding against the grain or skipping the scoring tool.
What is a good card for a very young child to make?
Show answer
Try handprints, stickers or paper-strip candles. They need little cutting and give quick results.
How do I make a card look polished?
Show answer
Use a small palette, a heavy base and one focal decoration. Layer a smaller panel on the front for a neat finish.