Want to make pop up cards but not sure where to start? Learn two folds, the V fold and the box fold, and you can build almost any simple pop-up from one folded sheet.
| Item | Value |
|---|---|
| Core mechanisms in one beginner handout | 2 (V fold and box fold) |
| Starting paper size in a template tutorial | 8 1/2″ x 11″ |
| Best paper type per that tutorial | Card stock |
| First move for the mouth card | Fold the paper in half to form a card |
| Golden rule for slits | Always cut the slits in from a fold |
Figures come from a Peninsula School of Art handout and a Robert Sabuda tutorial. Instructions can change, so check the sources before you rely on them.
This guide sits within our wider card making coverage and focuses on the mechanics rather than finished designs.
How a pop-up card works
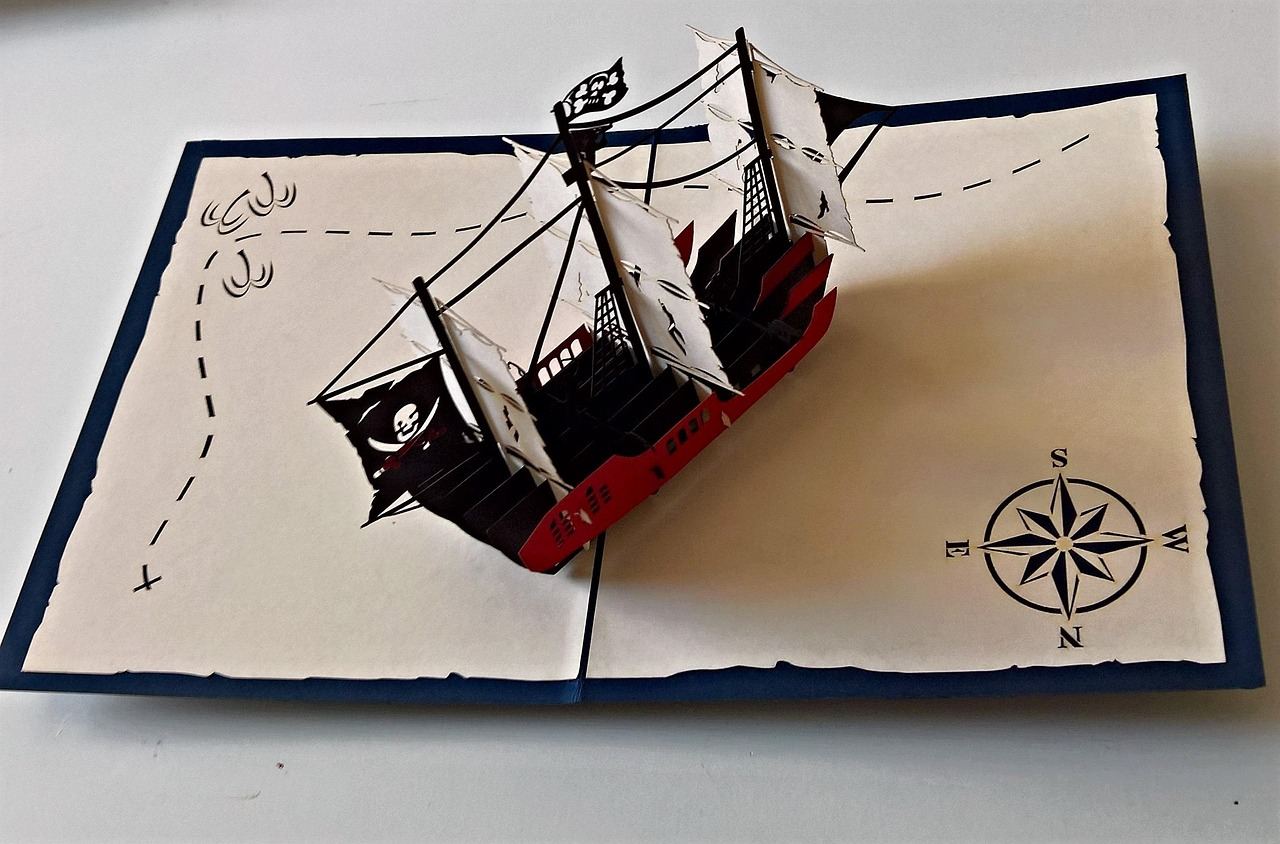
A pop-up is a flat sheet that becomes three-dimensional when folded. A Warwick paper-engineering lesson frames this as one of its success criteria: describing how folding a flat (2D) sheet of paper makes it a 3D object.
In a card, the pop-up piece is cut from the folded base or glued onto it. When you open the card, the angle of the fold pushes the piece forward. When you close it, the piece must fold flat and stay inside.
That last point is where most first attempts fail. If the card will not close, the cuts or folds are usually off, not the paper.
What you need
The Peninsula School of Art handout keeps the kit short. Its list is cardstock, scissors, glue, crayons, colored pencils or markers, colored paper, and a ballpoint pen without ink.
- Cardstock for the base card, because it holds a crisp fold.
- Scissors, or a craft knife if you are comfortable with one.
- Glue for attaching pieces to the base.
- A dry ballpoint pen to score fold lines before you bend them.
- Pencil and markers for planning and decorating.
Sabuda’s mouth tutorial recommends heavy paper, such as card stock or construction paper. It adds that card stock works best and is easily obtained from any office supply store.
The V fold
The V fold is the classic pop-up. According to the handout, it begins by folding a sheet of paper in half, then folding the paper again while pushing the triangles forward.
From there the steps are simple:
- Fold a sheet of paper in half to make the card.
- Cut a slit from the folded edge.
- Fold the cut section so it forms a V when the card opens.
- Glue one side of the pop-up to another piece of paper, as the handout describes.
Changing the angle of the V changes how the figure moves. A wide V keeps the piece low, and a steeper V makes it rise more.
The box fold
The box fold is the second mechanism in the handout. It also starts by folding a sheet of paper in half, then uses two cuts so a block of paper pushes forward as a small platform.
Stick a drawing, animal or message to the front of that block and it stands up when the card opens. Its flat front face suits cakes, gift boxes and text banners.
The handout’s diagrams use two fold symbols: a mountain fold, which points up like a peak, and a valley fold, which points down like a V. Mark each fold lightly before you crease it so you do not mix them up.
A first project: the mouth card
Sabuda’s single-sheet mouth tutorial is a gentle place to practise. It starts with an 8 1/2″ x 11″ piece of construction paper or card stock.
The early steps are short. Fold the paper in half to form a card, draw a line from the folded edge to the center, then cut along the line starting at the folded edge. Fold back and crease both flaps into triangles, then unfold them. Open the card like a tent, push both triangles through to the inside, then close, press and reopen it.
The same slit-and-fold idea works for a bird beak, a crocodile jaw or a talking character. Give it eyes and a tongue and you have a card that works for almost any occasion.
Fitting pop-ups to your occasion
Once you know both folds, you can change the length, angle and path of the slits you cut. The handout also says you can glue things to the sides of your pop-ups, or layer and stack them.
Pop-up pieces can add depth to a handmade birthday card ideas collection, such as a cake on a box fold. For winter, a V-fold tree or star makes a strong centrepiece, and our guide on how to make christmas cards covers the wider seasonal options.
Common fixes for stubborn cards:
- Score every fold before bending it.
- Keep the pop-up within the card edges so it is protected when closed.
- Test with scrap paper before cutting your good cardstock.
- Glue only where marked, and let it dry before closing the card.
Planning your design before you cut
Sketch the card on scrap paper first. Decide where the fold sits, which piece will pop up, and how much of the front cover it needs to hide when the card is shut.
Think in layers. The base card is the stage, the pop-up is the actor, and any decoration glued to the pop-up should stay within the space the card can close over.
- Choose one mechanism, V fold or box fold, for your first card.
- Draw the cut lines in pencil on the inside of the folded sheet.
- Score the folds with the dry pen, then cut.
- Push the pop-up through, crease it, and test the open-and-close motion.
- Decorate the pop-up and the card background last.
Decorating after the mechanism works saves you from ruining a finished design. If the pop-up has to be redone, you lose only a plain piece of paper.
Troubleshooting a pop-up that misbehaves
Most problems come from one of three causes: a cut that is too long, a fold pressed the wrong way, or glue in the wrong place. Each is easy to spot once you open the card halfway and look at the gap.
If the figure leans, the slit is probably uneven, so trim a fresh copy using a ruler. If it flops forward, the glue tab is too small or the paper is too thin. Heavier card stock can help if the paper is too thin; enlarge the glue tab if it is too small.
When the card first closes, the pop-up may not fold neatly. Sabuda’s tutorial includes closing and pressing the card, and gently helping the piece fold flat a few times usually trains the crease.
Frequently asked questions
What is the easiest pop-up card to make?
Show answer
The mouth card is a good start. It needs one folded sheet and one cut from the fold, and Sabuda’s tutorial walks through it step by step.
Which paper should I use?
Show answer
Use heavy paper. Sabuda’s tutorial says card stock works best, and construction paper also works.
Why won’t my card close?
Show answer
Check whether a piece catches inside the card or a fold is in the wrong direction. Check mountain and valley folds, and remember to cut slits in from a fold.
Do I need templates?
Show answer
No. Both the V fold and the box fold can be made by drawing the cuts yourself. Templates just save time when you want a specific shape.