Staring at a blank sheet of paper and wondering where to start? Card making for beginners needs only a few cheap tools: sturdy cardstock, a ruler, something to score with and glue. Cut, score, fold, decorate.
New to the craft? Our guide to card making covers the wider topic, and this page covers your first card.
| Item | Value |
|---|---|
| Most popular card-making weight | 80 lb / ~216 GSM |
| Lightweight cardstock | 65 lb cover |
| Heavy cardstock | 100lb / ~270 GSM |
| Finished A2 card | 4.25 x 5.5 inches |
| Finished A6 card | 4.13 x 5.83 inches (105 x 148 millimeters) |
Figures come from Cricut’s cardstock guide and Spellbinders’ card size guide. Product labels and sizes can change, so check the sources before you rely on them.
What you need for your first card
You do not need a craft room. A starter kit is small, and most of it you may already own.
- Cardstock for the card base, plus a few scraps of patterned or coloured paper for decoration.
- A ruler and a pencil for measuring.
- Scissors or a paper trimmer for straight cuts.
- A scoring tool and a bone folder, or the back of a butter knife and a spoon in a pinch.
- Adhesive, such as double-sided tape or a fine-tip liquid glue.
Cricut’s guide calls out that double-sided tape, foam dots for dimension and fine-tip liquid glue are staples in a seasoned card maker’s toolbox. Start with tape: it is tidy and dries instantly.
Stamps, inks, dies and embossing can wait. Learn to make a clean fold and a straight layer first, and the fancy tools will work better later.
Choosing cardstock weight
Paper weight is the first thing that confuses newcomers. In the US it is measured in pounds per 500 sheets (lb), and internationally in grams per square metre (GSM), so packs may show either number.
Cricut’s guide breaks the common weights down like this:
- 65 lb cover: lightweight or medium-light cardstock, handy for decorative layers.
- 80 lb / ~216 GSM: the most popular weight for card making.
- 100lb / ~270 GSM: heavy cardstock.
For a first card, an 80 lb base is a safe choice. It stands up on a shelf, folds well and still cuts easily with ordinary scissors.
Use lighter paper for the pieces you glue on top. A thick base with thin layers keeps the card from getting bulky.
Pick a card size
Sizes look complicated, but beginners really only meet two. The US favourite is the A2 card, with finished dimensions of 4.25 x 5.5 inches. The international favourite is A6, which measures approximately 4.13 x 5.83 inches, or 105 x 148 millimeters.
The two are close but not identical, so match your envelope to the card you choose. Spellbinders’ guide advises you to confirm the envelope size before beginning, particularly for square, shaped or dimensional cards. If you would rather make your own, our guide on how to make an envelope shows you a fit.
Make your first card, step by step
A top-folding A2 card is the classic starting point. Spellbinders’ size guide begins it with one instruction: trim the cardstock to 4.25 x 11 inches.
- Cut your cardstock to the size above, using a ruler and trimmer for square corners.
- Score the sheet at its halfway point, pressing a scoring tool along a ruler.
- Fold along the scored line and run a bone folder down the crease.
- Cut a slightly smaller layer from patterned paper and stick it to the front with tape.
- Add a sentiment, a drawn border or a few stickers, then write inside.
When you are ready for a fuller walkthrough, our page on how to make a greeting card goes through the process in more detail.
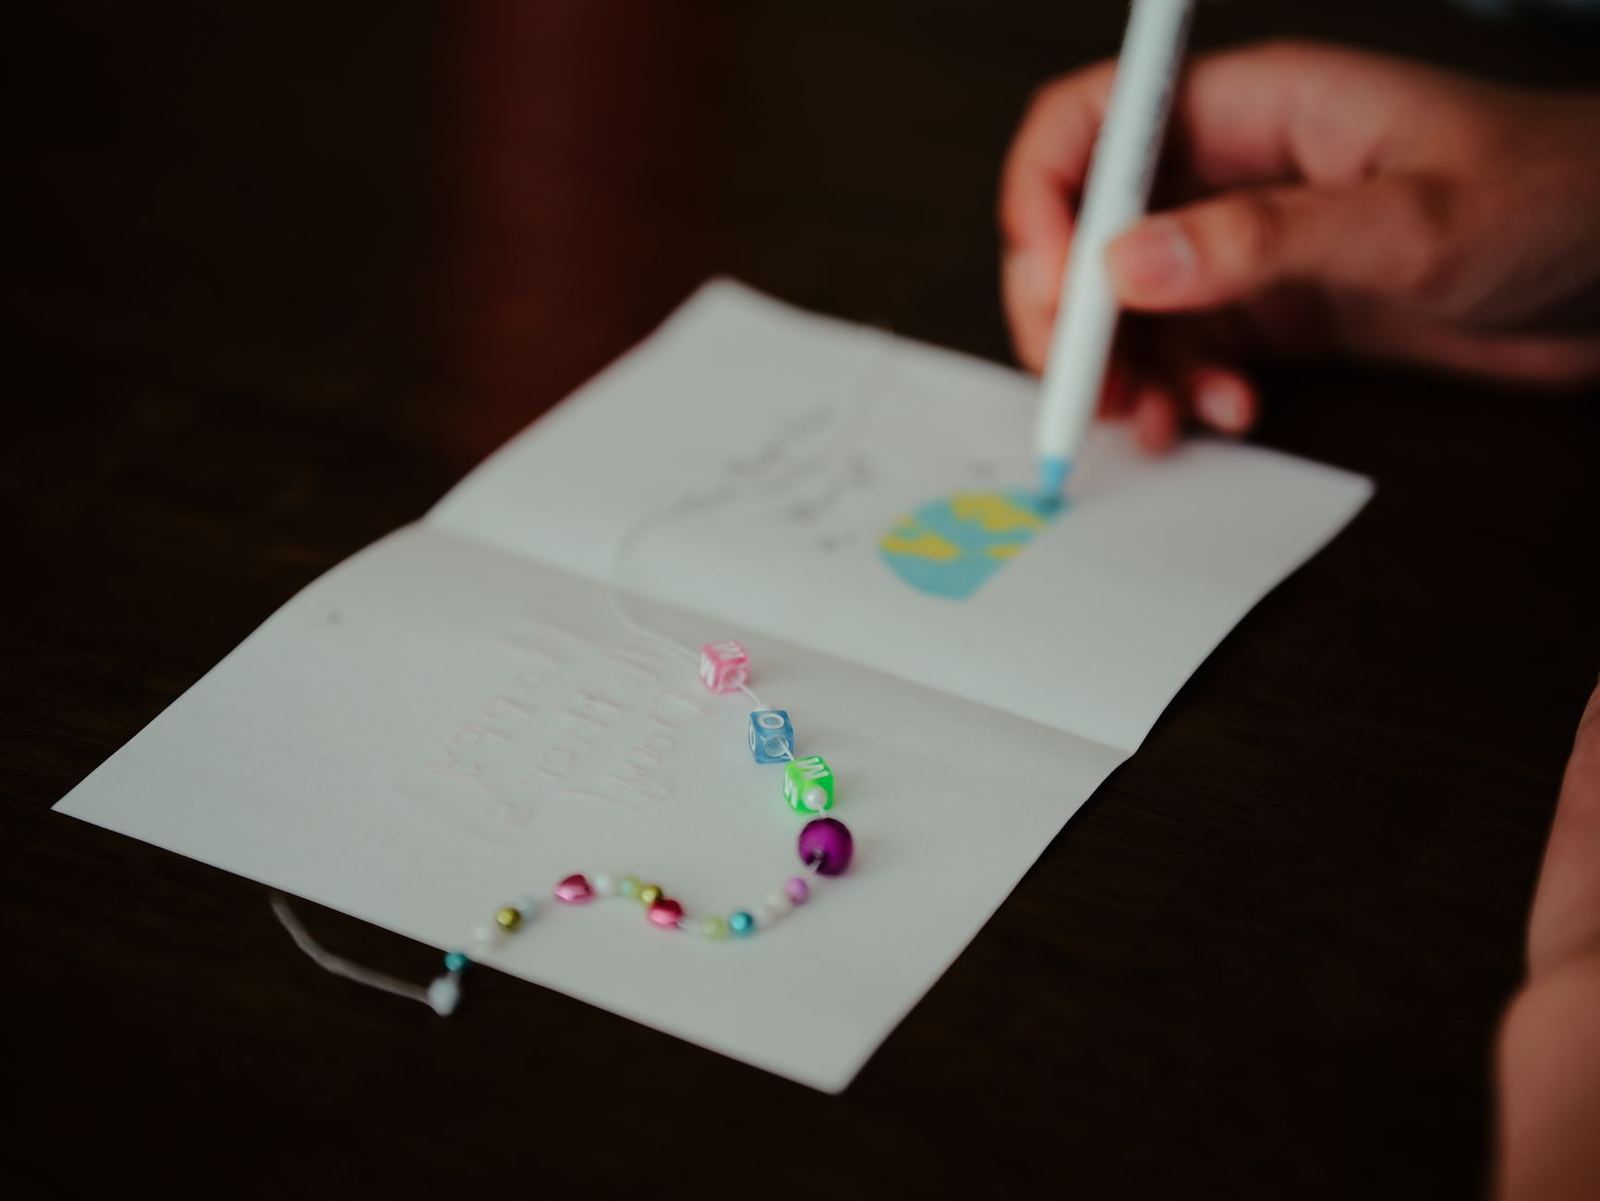
Why scoring helps prevent cracked folds
Skipping the score is the most common beginner mistake. Cricut explains that scoring creates a clean path for the fold and helps prevent the paper fibers from snapping and cracking.
Grain matters too. As the same guide puts it, “Like wood, paper has a grain- folding with the grain is much easier than folding against it.”
If your folds keep cracking, work through this short list:
- Score every time, even on thinner card.
- Turn the sheet and try the other direction to find the grain.
- Press the fold flat with a bone folder instead of your fingers.
Easy ways to decorate and avoid common slips
Keep your first designs simple. A layered panel, a bold sentiment and one accent colour already look handmade in the best way.
A few habits help every time:
- Plan the layout on scrap paper before gluing anything.
- Glue the largest piece first and add small details last.
- Keep adhesive away from the card edges so it does not squeeze out.
- Make a quick practice card from cheap paper before using your good stock.
Mistakes are normal. A smudge can become a sticker spot, and a crooked layer can be trimmed and reused.
Card making for beginners: building skills over time
Once your first card feels easy, change just one thing at a time. That way you learn what each new tool or technique actually does, instead of guessing why a design went wrong.
A sensible order for most people looks like this:
- Practise clean cutting, scoring and folding until every card closes flat.
- Try layering a mat of contrasting colour behind a focal panel.
- Add dimension with foam dots, which lift a piece off the card face.
- Experiment with a sentiment, whether hand-lettered, stamped or printed.
- Explore different shapes and fold styles, such as side-folding or square cards.
Keep a small folder of finished cards and half-ideas. Looking back at your own work shows how quickly your edges, corners and spacing improve.
Keep your costs and your workspace simple
Handmade cards are a thrifty hobby when you start small. Buy one pack of decent cardstock in a neutral colour, and use scraps from wrapping paper, old magazines or envelopes for the decoration.
Work on a clean, flat surface with good light, and keep your adhesive and scissors within reach. A suitable cutting mat helps protect your table when cutting.
Store paper flat so it does not curl, and keep offcuts in a box sorted loosely by colour. Small pieces are perfect for sentiments, borders and tiny accents on later cards.
Frequently asked questions
What is the best cardstock for a beginner?
Show answer
Cricut’s guide names 80 lb / ~216 GSM as the most popular weight for card making, so it is a sensible first pack. Choose a smooth, plain colour to practise on.
Do I really need a scoring tool?
Show answer
A scoring tool helps, but a ruler and the back of a butter knife can substitute. Cricut says cracking usually occurs when you fold against the grain or skip scoring, and a basic scoring tool is inexpensive.
What size should my first card be?
Show answer
An A2 card, at 4.25 x 5.5 inches, or an A6 card, at 105 x 148 millimeters, are both common. Pick the one that suits the envelopes you can get.
Can I make cards without stamps or a cutting machine?
Show answer
Yes. Paper, a ruler, scissors, a scoring tool and tape are enough for a handmade card.